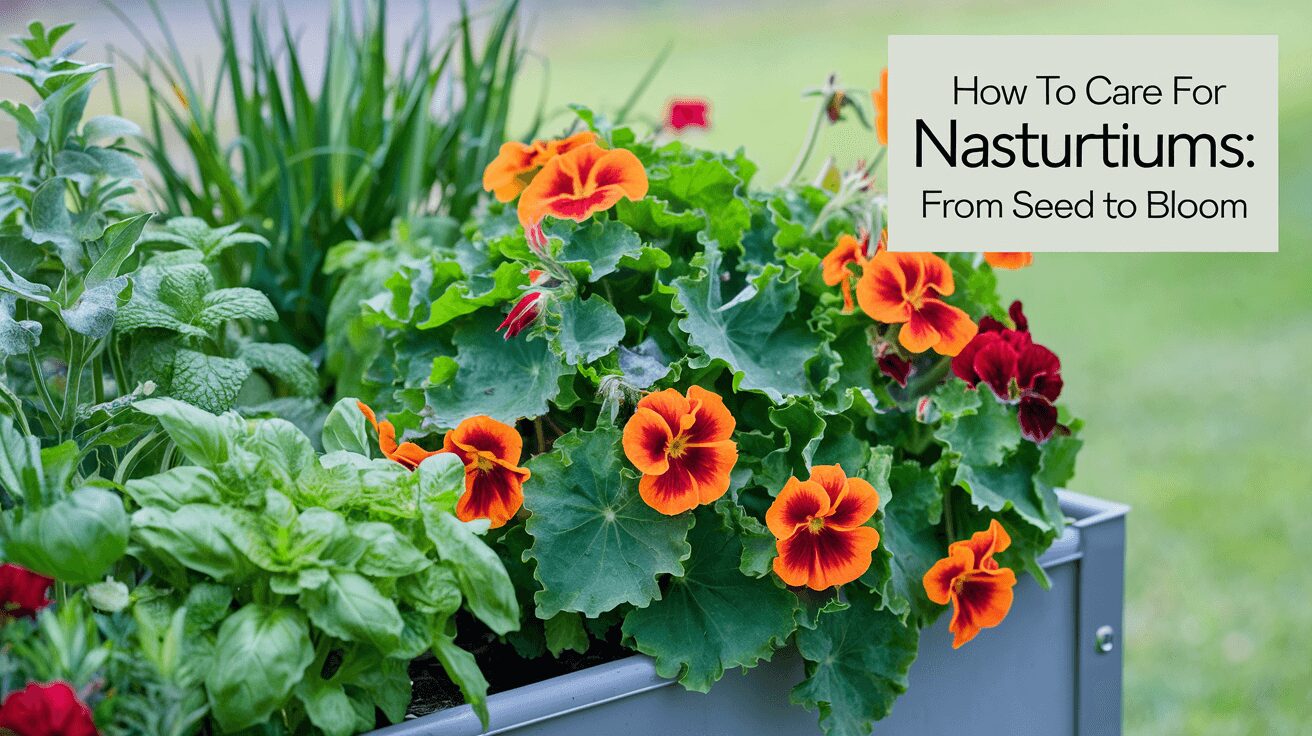
So, let's talk about nasturtiums care. "Did you know nasturtiums are edible, stunning, and a little quirky to grow?!" Okay, let’s be honest – I didn’t.
The first time I tried growing nasturtiums, I thought they’d be easy-peasy. But, boy, was I wrong! They are forgiving (thankfully), but you’ll hit a few bumps along the way if you’re not careful. That’s where I come in to help you avoid some of the mistakes I made.
Nasturtiums are such a fun, rewarding plant to grow – especially if you're into vibrant flowers that you can snack on!
Whether you're planting them for their aesthetic appeal or their pest-repelling abilities, nasturtiums deserve a spot in every garden.
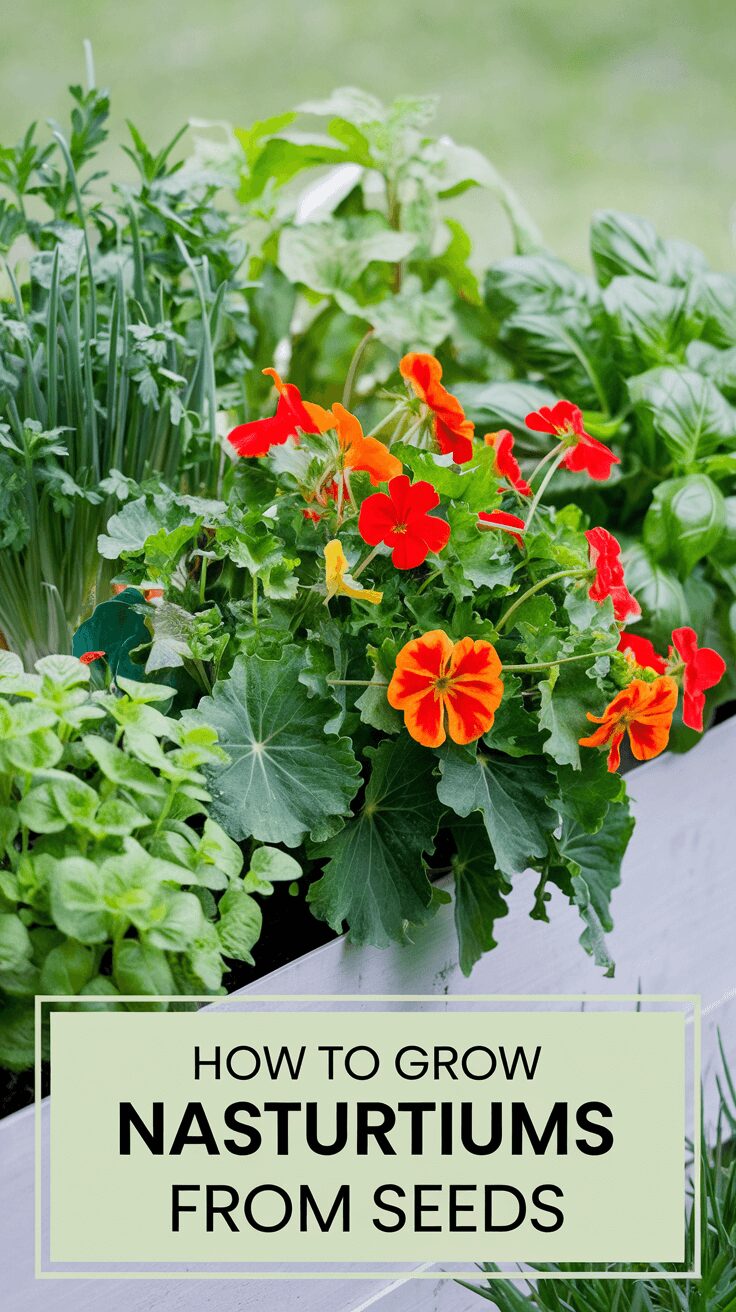
Let me walk you through everything you need to know – from when to plant, to how to care for them, and what not to plant next to them (a mistake I learned the hard way!). This post is your ultimate guide to making nasturtiums thrive in your garden, indoors, or even in containers.
About Nasturtium
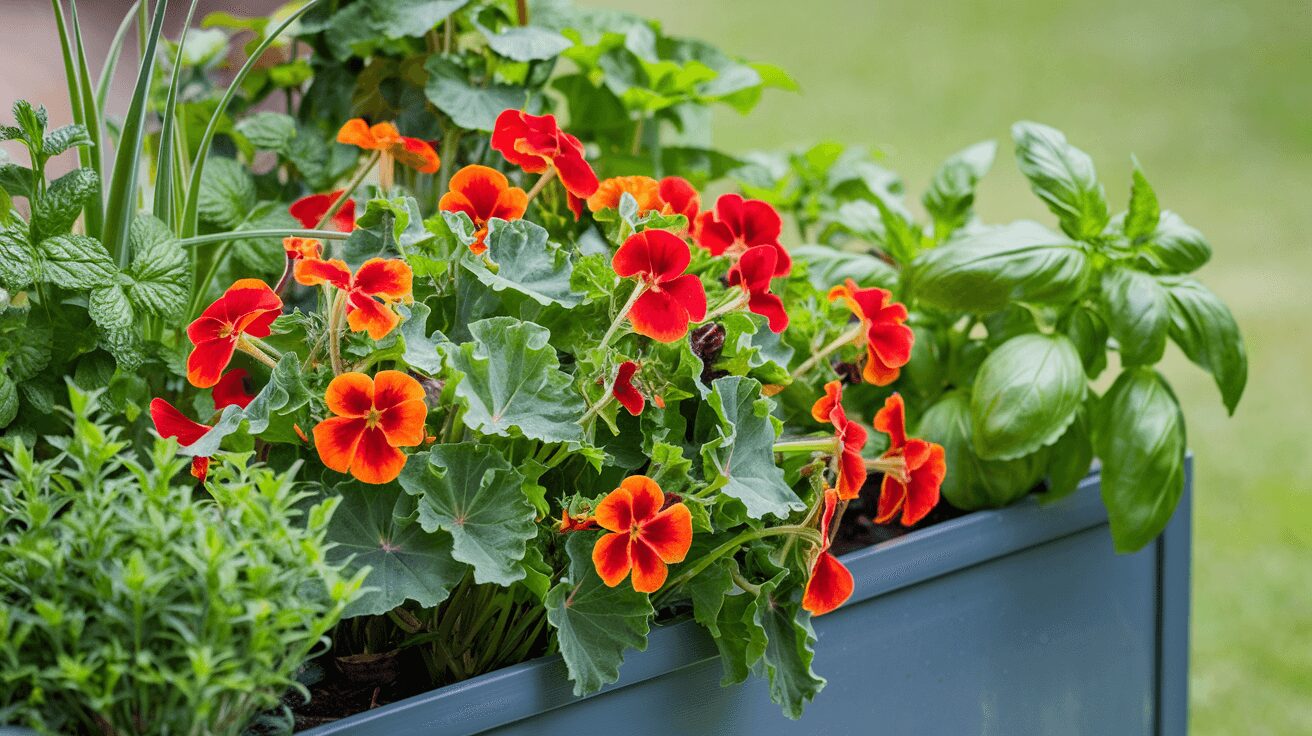
Before I get into the nitty-gritty details of nasturtium care, let’s take a step back. What exactly are nasturtiums? They’re these charming, somewhat sassy plants with beautiful round leaves and striking flowers. Native to South and Central America, they thrive in a range of conditions (but don’t expect them to act like succulents).
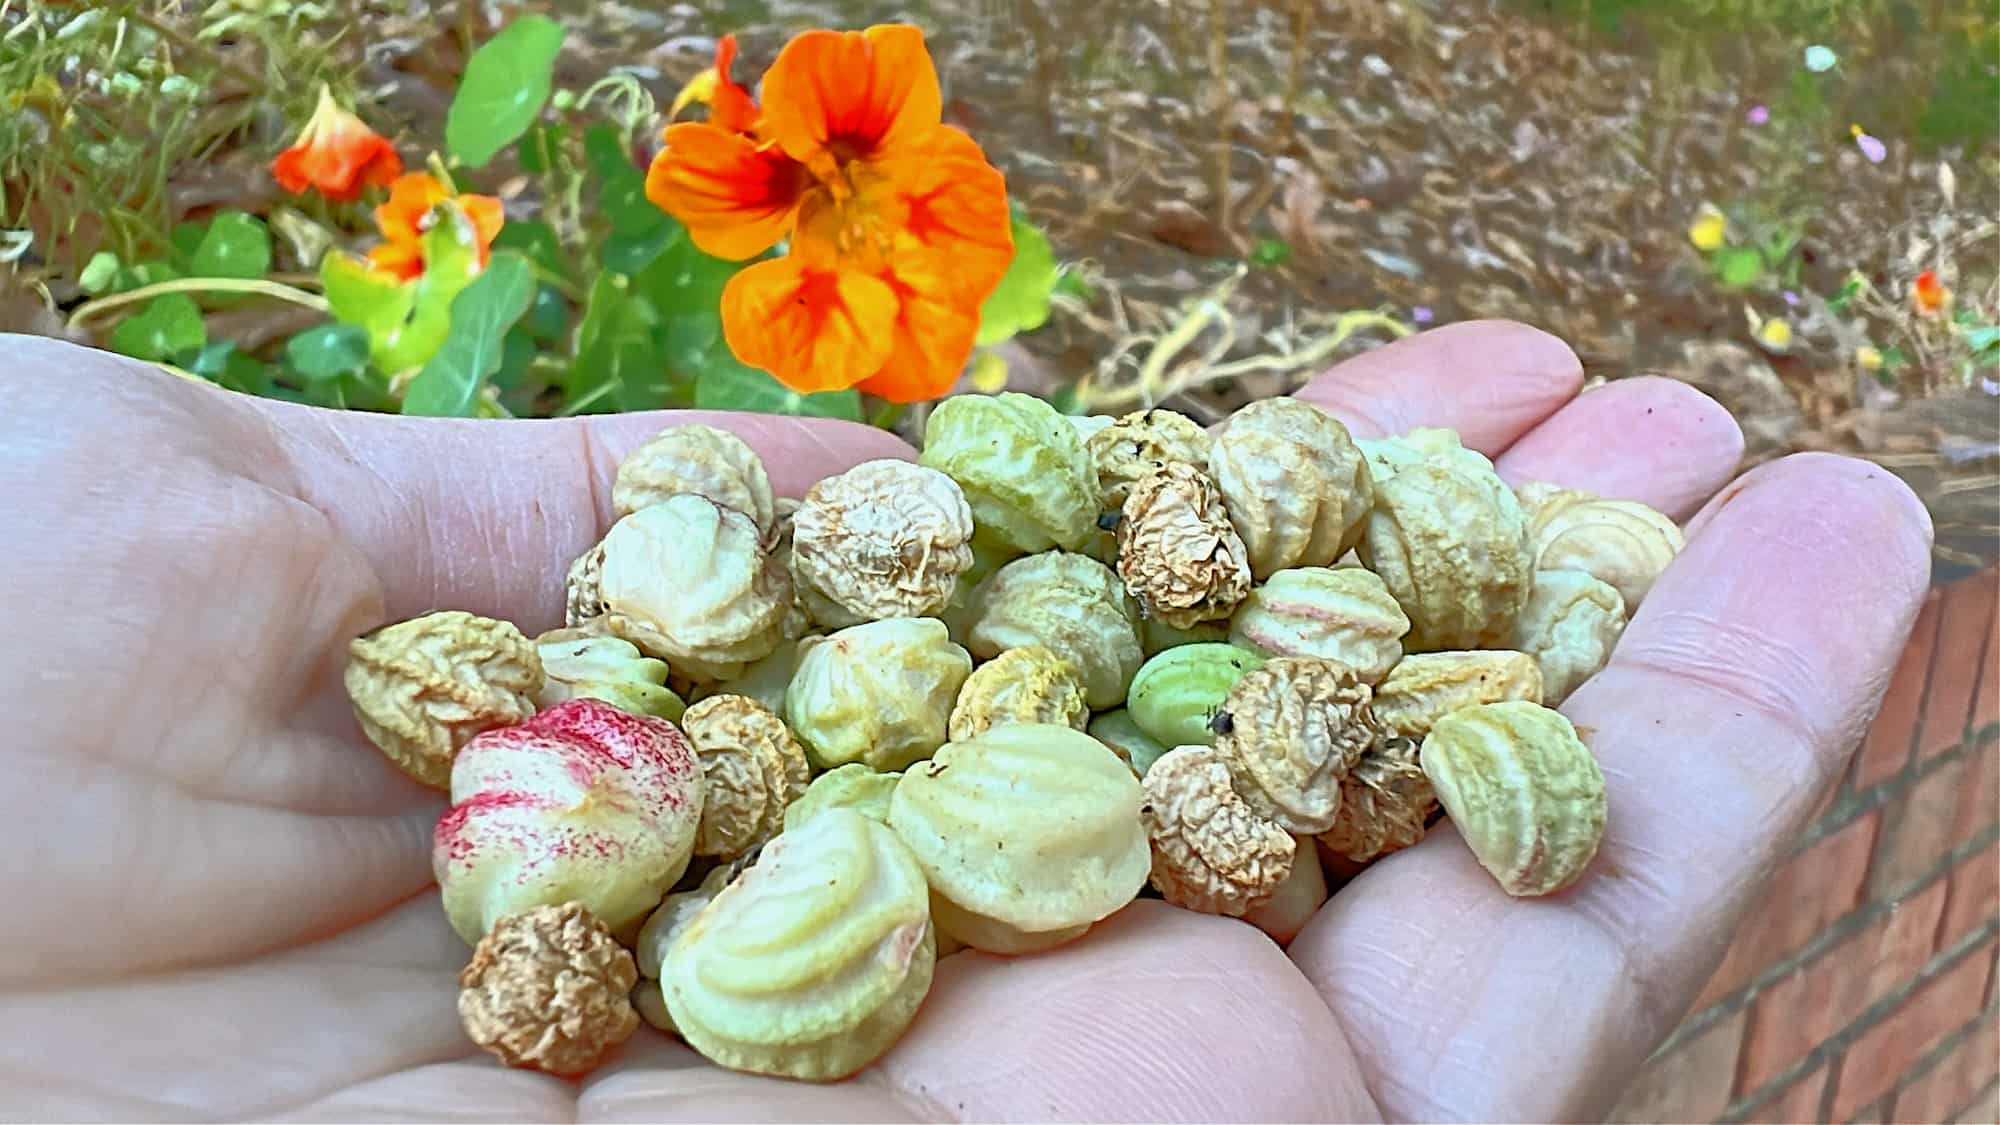
Fun Fact: Nasturtium flowers, leaves, and seeds are edible! The flowers add a peppery flavor to salads, and the seed pods can be pickled like capers. Pretty cool, right?
Nasturtiums Profile:
- Botanical Name: Tropaeolum majus
- Family: Tropaeolaceae
- Plant Type: Annual (Perennial in frost-free climates)
- Sun Exposure: Full sun (6+ hours), Partial shade
- Soil Type: Well-drained, poor to average soil
- Soil pH: Neutral to slightly acidic (6.5-7.5)
- Bloom Time: Summer to early fall
- Flower Color: Red, orange, yellow, cream
- Hardiness Zones: 9-11 (Perennial in warm climates, annual elsewhere)
- Water Needs: Moderate, drought-tolerant once established
- Height: 12-24 inches
- Spread: 12-24 inches (can spread more if trailing variety)
- Sowing: Direct sow in spring after frost; can be started indoors 2-4 weeks before the last frost
- Native Area: South and Central America
Read Next:
Benefits of Growing Nasturtium
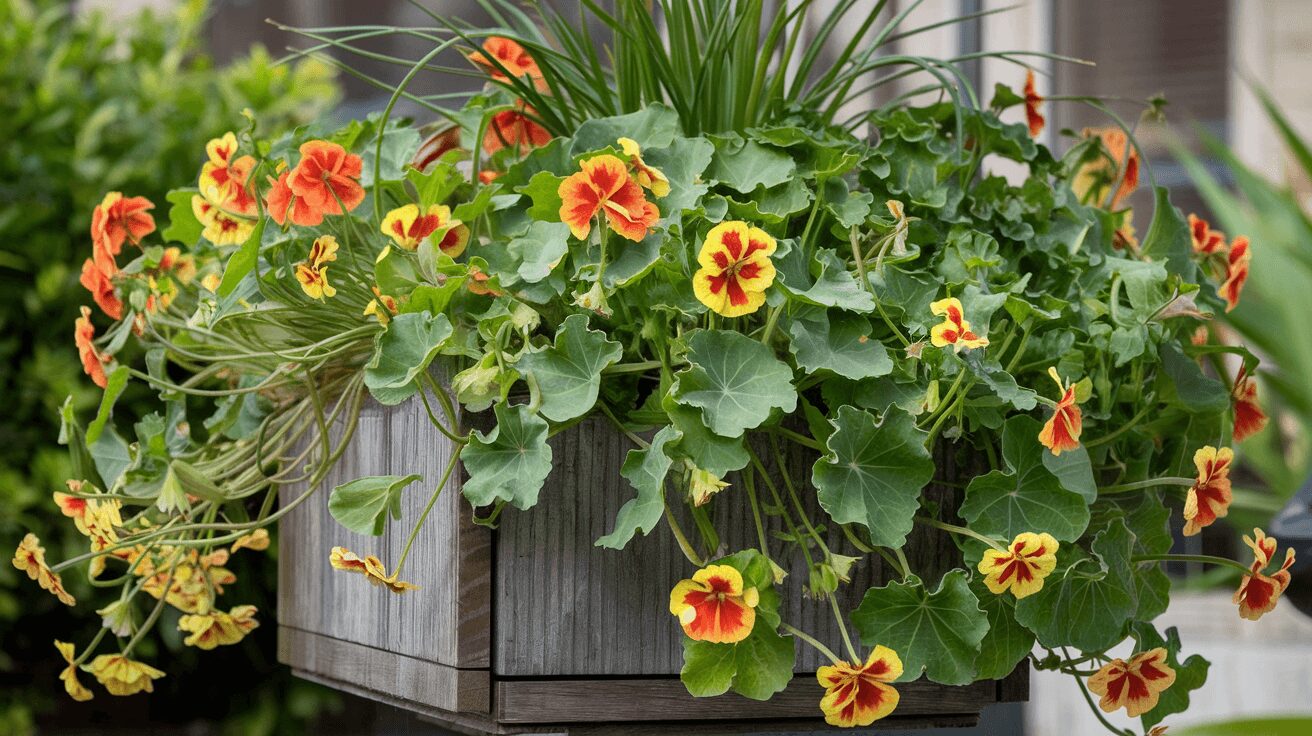
There are loads of reasons why I keep coming back to nasturtiums, even after some trial and error. For one, they’re like nature’s pest repellent. Aphids, cabbage worms, and whiteflies hate them. Plus, they’re an absolute delight to look at – bright orange, yellow, and red flowers make any garden pop.
And if you're looking for a plant that will make you feel like an urban homesteader, nasturtiums are perfect. Imagine plucking some leaves for a fresh salad, tossing in a few flowers for a splash of color, and sprinkling in some seeds for that caper-like kick.
Tip from experience: Always have a few nasturtiums close to your veggies. They act like bodyguards, keeping the pests away. Trust me, this trick has saved my spinach more times than I can count.
When to Plant Nasturtium (Timing is Everything)
Let’s be real. Timing can make or break your nasturtium experience. I planted mine too early one year, and boom – frost hit. All those pretty little seedlings? Gone in a night. Lesson learned.
Nasturtiums are all about the heat. If you’re in a colder climate, wait until the danger of frost is long gone. Ideally, plant them when the soil has warmed up – around late spring. If you're in a warmer region, you can plant them a little earlier, but still avoid those chilly nights.
Quick pro-tip: If you want an early start, you can germinate the seeds indoors about 2 to 4 weeks before your last frost date. But, nasturtiums don’t like being transplanted, so be gentle when moving them outdoors.
Nasturtium Care Tips: A Step-by-Step Guide
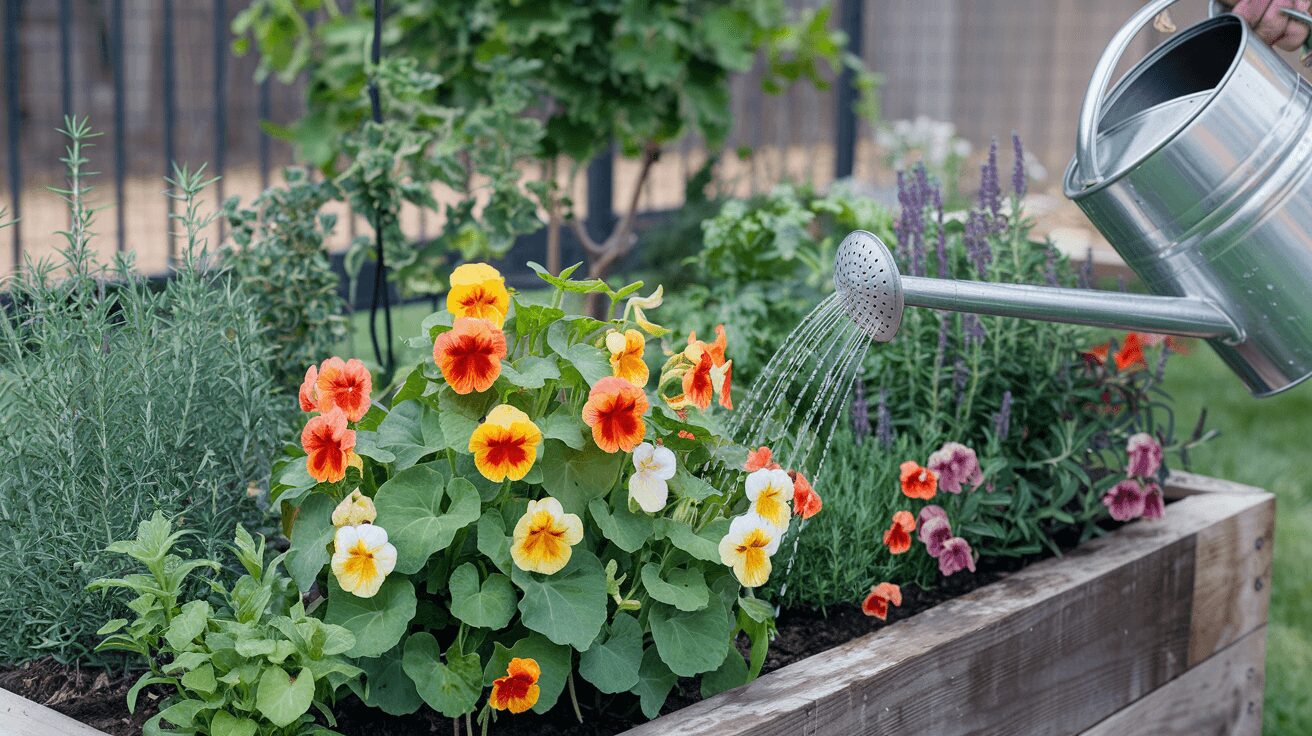
Caring for nasturtiums isn’t rocket science, but there are a few things that can make or break your efforts. Let me walk you through the basics:
1. Light:
Nasturtiums thrive in full sun. They’ll tolerate partial shade, but expect fewer flowers. I learned this the hard way after trying to “tuck” them into a shady corner of my garden. They survived, but barely bloomed.
2. Soil:
Here’s where it gets interesting. Nasturtiums actually prefer poor soil. I know, right? Unlike your veggies that love a rich, nutrient-packed bed, nasturtiums do better in slightly lean, well-draining soil. Over-fertilizing can lead to lots of lush leaves but very few flowers.
3. Water:
Water nasturtiums regularly, especially in hotter months. But here’s the catch: they hate sitting in water. Make sure the soil drains well. I once overwatered mine, and they just looked sad and droopy. It’s a delicate balance. If you have a busy schedule, you can incorporate self-watering system in your garden.
4. Temperature & Humidity:
These guys like it warm but not scorching. Anything above 65°F (18°C) is golden. They also prefer a bit of humidity, but not too much. Think Mediterranean climate.
5. Fertilizer:
You might be tempted to sprinkle in some fertilizer, but nasturtiums are low-maintenance. A little organic compost mixed into the soil at planting time is enough. Too much fertilizer, and you’ll get big, green leaves but few flowers. No bueno.
6. Pruning:
They don’t need much pruning, but you should trim off any dead or yellowing leaves. It keeps them looking tidy, and healthy plants bloom more!
Nasturtium Care Indoors
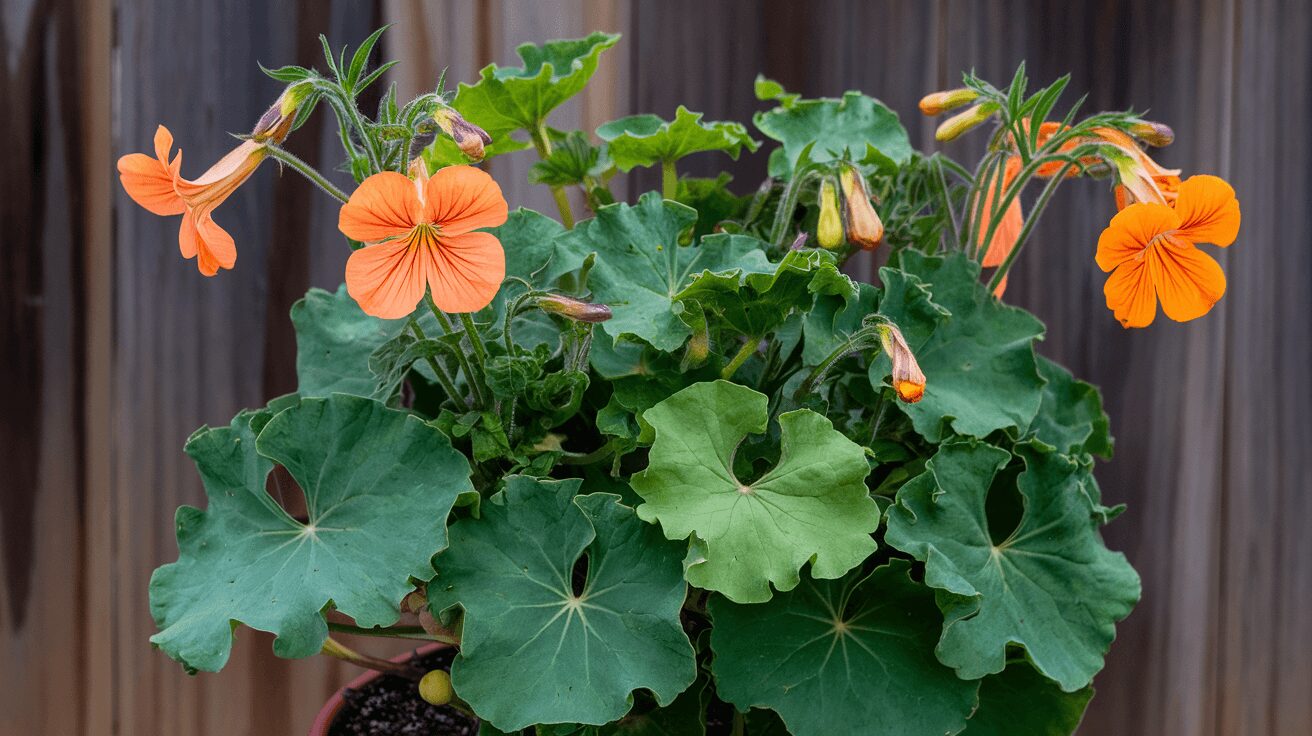
Believe it or not, nasturtiums can be grown indoors, and this was a game-changer for me. But you’ve gotta give them plenty of light. They can get leggy if they’re not getting enough sun.
I kept mine on a windowsill that gets about 6 hours of sun a day. They did alright but could’ve done better with some grow lights during the winter months. For more container gardening tips, check out this post on Indoor Container Gardening.
Nasturtium Care in Pots (and Why I Love It)
Containers are where nasturtiums really shine for urban gardeners. If you're low on space, you can grow these beauties in pots on your balcony or patio. Just be sure to choose a container with good drainage.
Fun Fact: Nasturtiums look great trailing out of hanging baskets. Just make sure they’re getting enough sunlight – I can’t stress that enough!
Deadheading Nasturtiums
I used to skip deadheading, thinking it wasn’t that important. But here’s the thing: the more you deadhead, the more flowers you’ll get. Snip off the spent blooms regularly, and watch your plants reward you with a burst of new flowers.
Growing Nasturtiums from Seeds: Step-by-Step Guide
Growing nasturtiums from seeds is one of the easiest and most rewarding ways to get started with these plants. You’ll be surprised at how quickly these beauties grow once you get the hang of it. I’ll walk you through everything I’ve learned (both the hard way and the easy way) to help you avoid any mistakes.
1. Choosing the Right Seeds
The first step is selecting the right variety of nasturtium seeds. Some of my personal favorites include the trailing varieties, which look great spilling out of hanging baskets, and the compact varieties that work perfectly in pots or borders. Here are a few popular types:
- Tropaeolum majus: The most common type with large, vibrant flowers and trailing stems.
- Tropaeolum minus: A smaller, bushy variety that’s perfect for container gardening.
- Alaska series: Known for its variegated leaves and colorful blooms.
If you want a more unique variety, go for ‘Empress of India’ with its deep red flowers. It’s been a showstopper in my garden! For more tips choosing and starting seeds indoors, check out Top 21 Houseplants to Start from Seed.
2. Prepping the Seeds
One tip I learned early on is to soak nasturtium seeds overnight before planting. This softens the tough seed coat and speeds up germination. Trust me, it makes a world of difference. Just fill a cup with water and drop the seeds in for 12-24 hours before planting.
Pro Tip: Some folks like to nick the seed coat gently with a file or knife, but I’ve found soaking them does the trick without the extra effort.
3. Where to Plant: Direct Sowing vs. Starting Indoors
Nasturtiums don’t love being transplanted, so if possible, plant them directly where they’ll grow. However, if you want to get an early start (especially in cooler climates), you can start them indoors about 2-4 weeks before the last frost. Here’s how:
- For Direct Sowing: Once the danger of frost has passed, choose a sunny spot and plant the seeds about ½ inch deep in well-draining soil. Space them 8-10 inches apart if you’re planting bush varieties or up to 12 inches for trailing ones. Water well after planting.
- For Starting Indoors: If you’re starting seeds indoors, plant them in peat pots or biodegradable containers. This way, you can plant the whole pot in the soil when it’s time to transplant, reducing root disturbance. Keep the pots in a warm, sunny spot, and don’t forget to water them regularly.
4. Germination: What to Expect
Nasturtiums are pretty quick to sprout. If you’ve soaked your seeds, you should see them start to poke through the soil in about 7-10 days. It’s always exciting to see those little seedlings emerge! Just keep the soil moist but not waterlogged – nasturtiums don’t like soggy feet.
Mistake Alert: The first time I grew nasturtiums, I planted them in soil that was too rich. They grew lots of leaves but hardly any flowers! Nasturtiums prefer poor to average soil, so resist the urge to overdo it on compost or fertilizer.
5. Care After Germination
Once your seedlings have popped up, thin them out if necessary, keeping the strongest ones. For direct-sown plants, you can start thinning when they’re about 2 inches tall. Aim to leave about 8-12 inches between plants to give them room to grow and sprawl.
Water them consistently, especially in hot weather, but don’t drown them. Nasturtiums are drought-tolerant once established but appreciate regular water while they’re getting started.
6. Transplanting Outdoors (If You Started Indoors)
If you started your nasturtiums indoors, wait until the last frost has passed before moving them outside. Transplant them gently, trying to disturb the roots as little as possible. I usually plant them in the late afternoon or on a cloudy day to reduce transplant shock.
7. Watch Them Grow
Once they’re in the ground, nasturtiums pretty much take care of themselves! Keep an eye out for pests (more on that later), water as needed, and enjoy watching them bloom.
Read Next:
How to Make Nasturtium Bushy
If you want your nasturtiums to get that nice, bushy look, pinch back the tips of the plants when they’re young. This encourages more branching and will give you fuller, more robust plants.
Overwintering Nasturtium
Nasturtiums are annuals in most regions, but you can keep them alive over winter if you’re in a warmer climate. I bring mine indoors and let them hang out as houseplants until spring rolls around again. You can also collect seeds to plant next year.
What Not to Plant with Nasturtiums
Nasturtiums are excellent companion plants, but they don’t get along with everyone in the garden. Pairing them with the wrong plants can invite trouble – especially pests that might affect your entire garden. I made a big mistake once by planting nasturtiums next to cucumbers, and it was an aphid disaster!
Here’s a breakdown of what you should avoid planting with nasturtiums:
1. Cucumbers and Squash
As much as I love both nasturtiums and cucumbers, they just don’t work well together. Nasturtiums can attract aphids, which love cucumbers and squash too.
If you’re planting cucumbers or other cucurbit family plants (like melons, pumpkins, or zucchinis), keep your nasturtiums at a distance. Otherwise, you could end up with a serious aphid infestation.
2. Brassicas (Cabbage, Broccoli, Kale)
While nasturtiums are often planted as a trap crop to attract pests away from brassicas, this strategy can sometimes backfire if they’re planted too close. Aphids, caterpillars, and whiteflies can migrate from your nasturtiums to your brassicas if the two plants are too near each other.
Lesson Learned: Use nasturtiums as a decoy, but make sure there’s some distance between them and your brassica crops. Plant them on the edge of your garden instead of right next to your cabbage or broccoli.
3. Fennel
Fennel is notorious for being a poor companion plant for most vegetables, and nasturtiums are no exception. Fennel secretes a chemical that can inhibit the growth of many plants, including nasturtiums. If you’re growing fennel, give it its own space far away from your nasturtiums.
4. Potatoes
Another no-go for nasturtiums is potatoes. Both plants can attract pests like aphids, and planting them together can increase the risk of a full-blown infestation. I once planted nasturtiums near my potato patch, and let’s just say it was a lesson I won’t forget!
5. Root Crops (Carrots, Beets)
While nasturtiums can be beneficial companions for some crops, they can compete for nutrients with root crops like carrots and beets. If you plant them too close, you might find that your root vegetables don’t develop as well as they should.
Related:
Common Nasturtium Problems
Nasturtiums are hardy and forgiving, but even the best gardeners (yep, me included!) can run into a few problems. Here are some of the most common issues and how to handle them:
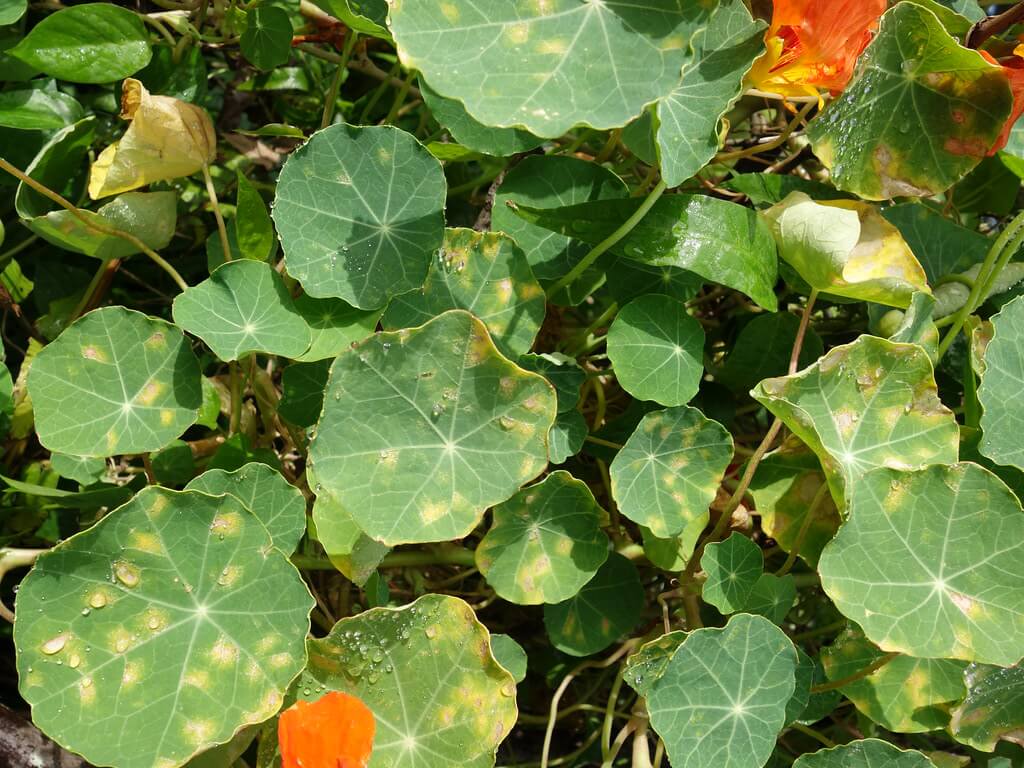
1. Yellow Leaves
If your nasturtium leaves start turning yellow, don’t panic. It’s usually a sign of overwatering or poor drainage. Nasturtiums hate sitting in soggy soil, so make sure your garden bed or container drains well.
How to Fix It:
- Check the soil moisture. If it’s too wet, let it dry out a bit before watering again.
- Improve drainage by adding sand or perlite to your soil if needed.
- Cut back on watering, especially during cooler or rainy periods.
Pro Tip: If the yellowing is happening on older leaves while the new growth looks healthy, it could just be natural aging. Simply remove the older yellow leaves to tidy up the plant.
2. Aphids
Ah, aphids. These little pests seem to love nasturtiums, and while it can be frustrating, it’s not the end of the world. In fact, nasturtiums can act as a “sacrificial” plant, drawing aphids away from your other crops. That said, too many aphids can weaken the nasturtium itself.
How to Handle It:
- Spray the aphids off with a strong blast of water from the hose. This works surprisingly well!
- For a bigger infestation, use neem oil or insecticidal soap. These organic options work wonders without harming beneficial insects.
Anecdote: I once let an aphid infestation get out of control, thinking the nasturtiums would just tough it out. They didn’t. The leaves wilted, and the plants struggled. Now, I’m on high alert as soon as I see those tiny green bugs!
3. Leggy Growth
Leggy, spindly nasturtiums usually mean they’re not getting enough sunlight. Nasturtiums are sun-lovers and need at least 6 hours of direct sunlight a day to thrive. If they’re growing long stems with few leaves or flowers, they’re probably stretching to find more light.
How to Fix It:
- Move container-grown nasturtiums to a sunnier spot.
- Trim back some of the leggy growth to encourage bushier growth.
- Consider using grow lights if you’re growing indoors or in low-light areas.
4. Lack of Blooms
One of the most common issues I hear about with nasturtiums is that they’re growing lots of leaves but not many flowers. This is usually due to overly rich soil or too much fertilizer. Nasturtiums actually thrive in poor soil, so resist the urge to feed them!
Solution:
- Hold off on the fertilizer! Seriously, nasturtiums don’t need much (if any) extra nutrients to bloom beautifully. If you’ve already fertilized, don’t worry. Just let the plant adjust, and avoid adding more nutrients for the rest of the season.
What to Do:
- Stick with poor to average soil; they really don’t need rich, compost-heavy beds.
- Cut back on fertilizer, especially if it’s high in nitrogen. Nitrogen encourages leafy growth but can stunt flower production.
- Be patient—nasturtiums usually bloom more heavily as they mature, so sometimes it just takes a little time.
5. Pests (Caterpillars, Slugs, and Snails)
Other than aphids, caterpillars and slugs can sometimes be a problem. Caterpillars especially seem to love munching on nasturtium leaves, and they can cause significant damage if left unchecked.
What I Do:
- Handpick caterpillars and remove them from the plants. This is the simplest, least toxic method.
- For slugs and snails, try laying down some diatomaceous earth around the base of the plants. It’s a natural barrier that these slimy pests don’t like to cross.
- You can also set out beer traps for slugs. It sounds odd, but they’re attracted to the yeast in beer, and it’s a harmless way to control their population.
6. Powdery Mildew
Powdery mildew can occasionally affect nasturtiums, especially in humid conditions or if the plants are crowded together with poor air circulation. It looks like a white, powdery coating on the leaves and stems.
How to Deal With It:
- Trim back any affected leaves and improve air circulation around the plants by spacing them out more.
- Avoid overhead watering, as wet leaves can encourage the spread of mildew.
- For a DIY fix, try a homemade spray made of 1 tablespoon of baking soda, 1 teaspoon of dish soap, and 1 gallon of water. Spray the affected leaves to prevent the spread of the fungus.
Related:
Final Thoughts
Growing nasturtiums from seeds is such a simple and rewarding process, and as long as you give them plenty of sunlight and don’t overwater, they’ll thrive. Just remember to keep them away from plants like cucumbers and brassicas, and stay on top of common pests and problems like aphids and leggy growth.
If you’ve had any success (or disasters) with nasturtiums, I’d love to hear about it! Feel free to share your stories or tips in the comments below. Gardening is a learning process, and trust me, we all make mistakes along the way!
Ready to start your own nasturtium garden? Grab some seeds, find a sunny spot, and give it a go! You’ll be amazed at how quickly these lovely plants take off. And remember, gardening is all about trial and error—so don’t be afraid to get your hands dirty and learn as you grow!
External Link: Check out Farmer's Almanac and The Spruce for nasturtium care tips and tricks.
FAQ
Where do nasturtiums grow best?
Nasturtiums grow best in full sun and well-drained, slightly poor soil. They thrive in both garden beds and containers, making them versatile for various growing conditions. Nasturtiums also do well in cooler climates, but need some protection from frost.
Do nasturtiums grow well in pots?
Yes, nasturtiums grow very well in pots! Just make sure the container has good drainage and use a light, well-draining soil. Avoid over-fertilizing, as nasturtiums perform better in nutrient-poor soil, and be sure to give them plenty of sunlight.
Do nasturtiums need direct sunlight?
Yes, nasturtiums thrive in direct sunlight. They prefer at least 6 hours of full sun a day for optimal blooming. While they can tolerate partial shade, too much shade can cause them to become leggy and produce fewer flowers.
How do you keep nasturtiums healthy?
To keep nasturtiums healthy, plant them in well-drained soil and water moderately—too much water can cause root rot. They don't need a lot of fertilizer, and pruning back leggy growth or removing spent blooms can encourage more flowering. Watch out for pests like aphids and caterpillars.
Do nasturtiums come back every year?
Nasturtiums are annuals in most climates, meaning they won’t come back every year. However, they can self-seed, meaning new plants may grow from seeds dropped the previous season. In warm, frost-free regions, they can act as perennials and continue growing year after year.

