
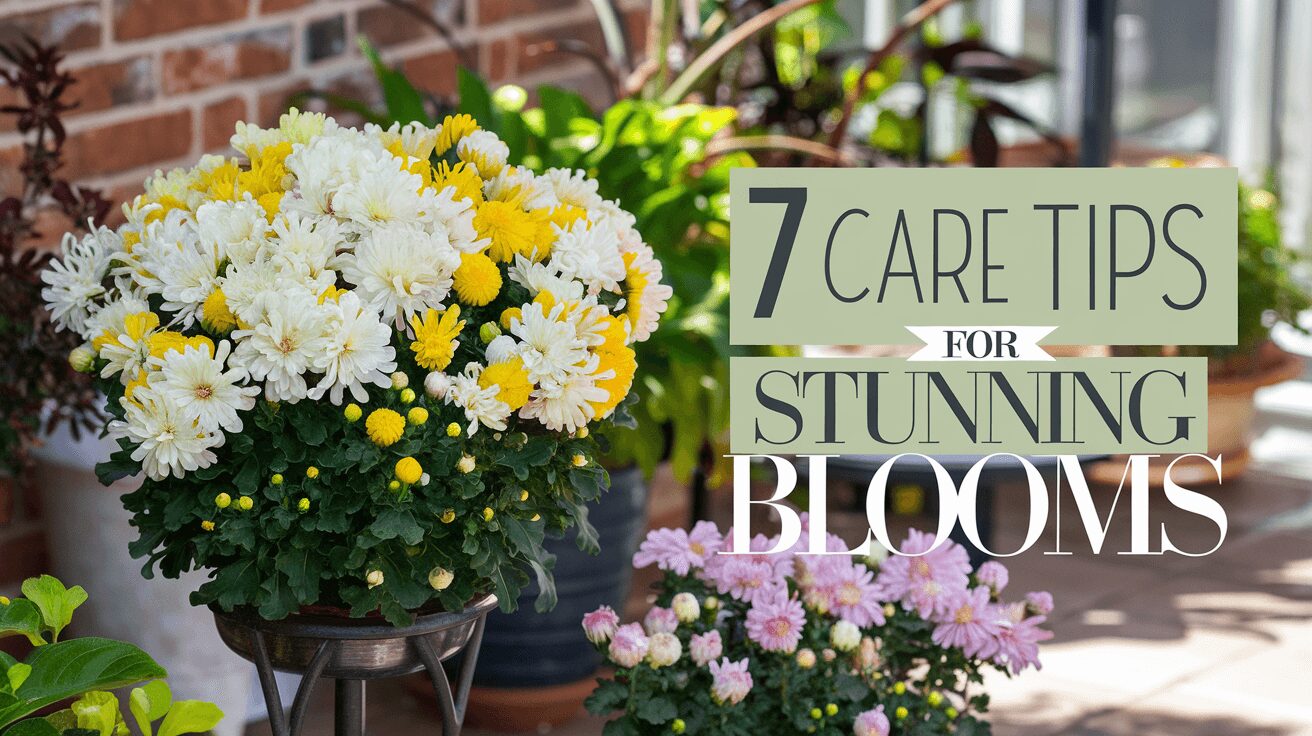
Caring for chrysanthemums in pots can be a rewarding experience, but it does come with its challenges. By choosing the right pot, providing proper sunlight, water, and nutrients, and deadheading spent blooms, you can keep your potted mums thriving throughout the season. Avoid common mistakes like overwatering, insufficient light, and skipping deadheading to enjoy more blooms and healthier plants.
And hey, I’ve definitely had my share of trial and error with potted mums, so let me guide you through this with a few lessons learned the hard way.
About Chrysanthemum
Chrysanthemums, or mums, are like that friend who's there for you every fall. They’ve been a staple in gardens for centuries and for good reason.
They’re one of the longest-blooming flowers, brightening our spaces for up to 8 weeks! Yep, two whole months of vibrant color in your home or garden, if you care for them right. These beauties come in all shapes and sizes—from daisy-like blooms to fluffy, pom-pom varieties—and thrive just as well in pots as they do in the ground.

Whether you're keeping them indoors to brighten up your living room or outside in containers, mums are a must-have for any gardener who wants pops of color late into the season.
Fun fact: Chrysanthemums were first cultivated in China as far back as the 15th century BC, where they were used for their medicinal properties!
Chrysanthemums Overview
- Botanical Name: Chrysanthemum spp.
- Family: Asteraceae
- Plant Type: Herbaceous perennial (often grown as annual)
- Sun Exposure: Full sun (6+ hours)
- Soil Type: Well-drained, loamy soil
- Soil pH: Slightly acidic to neutral (6.0-7.0)
- Bloom Time: Late summer to fall
- Flower Color: Yellow, pink, white, red, purple, orange
- Hardiness Zones: 5-9 (varies by species)
- Water Needs: Moderate; keep soil evenly moist
- Height: 12 inches to 3 feet
- Spread: 1 to 2 feet
- Sowing: Indoors in early spring or directly in garden after the last frost
- Native Area: Asia and Northeastern Europe
Related:
Chrysanthemum Benefits

I can’t say enough good things about these flowers! Aside from their cheerful appearance, chrysanthemums purify the air (seriously, NASA even said so!). They filter out toxins like benzene and formaldehyde, which makes them a fantastic choice for indoor gardeners.
And hey, they’re not just a pretty face. Did you know chrysanthemums are also used in tea for their calming and anti-inflammatory properties? Yep, they’re the overachievers of the flower world.
Types of Chrysanthemums
Before we dive into the nitty-gritty of care, let’s talk about the different types of chrysanthemums. There are over 40 species of mums, but I’ll focus on the most popular ones for pot-growing:
- Garden Mums: These are your classic fall favorites. They’re hardy, reliable, and perfect for containers.
- Florist Mums: If you’ve ever seen those super fancy mums with intricate petals at the grocery store, you’ve likely encountered florist mums. They're best kept indoors because they don’t handle frost well.
- Spider Mums: My personal favorite! Their delicate, spidery petals make them look like something from a fairy tale. They do well in pots, as long as you give them plenty of light.
Choosing the right variety depends on where you’ll be placing them, but I always lean towards hardy garden mums for outdoor pots. They’ve never let me down, even when I forgot to water them for cough a few days.
How to Care for Chrysanthemums in Pots

Taking care of chrysanthemums in pots is pretty straightforward, but it does require a bit of attention to detail. Follow these steps, and your potted mums will thrive!
1. Choose the Right Pot
- Step 1: Start by selecting a pot with good drainage. Chrysanthemums don’t like their roots sitting in water. A pot with drainage holes at the bottom is a must.
- Step 2: The pot size should be large enough to accommodate the root ball, with at least an inch or two of space on all sides. I’ve found that a 12-14 inch pot works well for most mums.
Pro tip: If your pot doesn’t have drainage holes, drill some in. It’s tempting to skip this step (been there, done that!), but trust me, your mums will thank you.
2. Use Well-Draining Soil
- Step 1: Fill the pot with well-draining potting soil. Avoid using garden soil alone as it can become compacted in containers and lead to poor drainage.
- Step 2: Mix in a bit of perlite or sand to improve drainage if needed. You want the water to flow through the soil easily, but not so fast that it dries out immediately.
Pro tip: I like to add compost to the soil mix for a little nutrient boost.
3. Plant Your Chrysanthemums Properly
- Step 1: Place the mum in the pot, making sure the top of the root ball is about an inch below the rim. This allows room for watering.
- Step 2: Backfill the soil around the roots, pressing gently to remove air pockets. You don’t want to pack it too tightly, though, as mums need room to breathe.
Pro tip: Water the plant thoroughly after planting to help it settle in.
4. Provide Plenty of Sunlight
- Step 1: Place your mums in a location where they’ll get at least 6 hours of sunlight a day. Chrysanthemums are sun-lovers, so the more sunlight, the better.
- Step 2: If you’re growing them indoors, position them near a south-facing window or supplement with a grow light if needed.
Pro tip: I learned the hard way that indirect light isn’t enough—mums will get leggy and weak if they don’t get their sun fix!
5. Water Regularly but Avoid Overwatering
- Step 1: Water your chrysanthemums thoroughly when the top inch of soil feels dry. Stick your finger in the soil to check; if it’s dry up to your first knuckle, it’s time to water.
- Step 2: Water slowly, allowing the water to soak through the soil and out the drainage holes.
Pro tip: I use a saucer under the pot to catch excess water, but I make sure to empty it so the roots don’t stay wet.
6. Fertilize During the Growing Season
- Step 1: Feed your chrysanthemums every 4-6 weeks with a balanced, slow-release fertilizer during the growing season (spring to early fall).
- Step 2: Stop fertilizing in late fall, as the plant begins to go dormant.
Pro tip: Too much fertilizer will result in more foliage than blooms. Stick to the recommended schedule for the best results.
7. Protect From Extreme Temperatures
- Step 1: Move your potted mums indoors or to a sheltered spot if temperatures drop below freezing. Even though some mums are hardy, potted plants are more vulnerable to the cold.
- Step 2: During the hottest months, provide some afternoon shade to protect the plant from scorching.
Chrysanthemum Care in Pots Indoors

If you’re growing mums indoors, lighting is the biggest challenge. Find the sunniest spot in your house, ideally a south-facing window. Indoor mums don’t need as much water as outdoor ones, but they still want to stay hydrated.
Keep an eye on the soil moisture, and mist them occasionally if the indoor air gets too dry—especially in winter when the heaters are running non-stop.
I once kept a pot of mums on my kitchen counter where they got barely any sunlight. They held on for a bit but eventually turned into leggy, sad plants. Lesson learned—indoor mums need sunlight too!
Chrysanthemum Care in Pots Outdoors
Outdoor potted mums? They’re in their element, soaking up all the rays! But don’t let the sun fool you—wind can dry them out faster than you’d think.
A little trick I learned is to place my pots near a wall or a fence to give them some wind protection. Plus, it helps keep the roots insulated from cold temperatures when fall nights start to get frosty.
Related:
Chrysanthemum Care in Pots in Winter
Winter is the time when most of us worry about losing our beautiful potted mums. I know I’ve panicked a few times. But here’s what you do: either bring your pots indoors or cover them with a frost cloth. Chrysanthemums are perennials, which means they’ll come back in spring if you help them survive winter.
Here’s my routine: I trim the plants down after they’ve finished blooming and store the pots in my garage where they won’t freeze. I barely water them during this period, just enough to keep the roots from drying out completely.
How to Deadhead Chrysanthemums in Pots
Deadheading is one of the best things you can do for your mums to keep them blooming longer. It encourages the plant to focus energy on new flowers rather than maintaining old ones. Here’s a step-by-step guide:
1. Identify Spent Blooms
- Step 1: Inspect your mums regularly (at least once a week) for spent or fading blooms. Spent flowers will look wilted, brown, or dried out.
Pro tip: I always take a close look after rain or watering since it’s easier to spot the dead flowers when the plant is wet.
2. Pinch or Snip the Dead Flowers
- Step 1: Use your fingers or a pair of clean scissors/pruners to pinch or snip off the dead blooms. Be sure to cut or pinch just above a leaf set or side shoot. This encourages more branching and therefore, more blooms.
- Step 2: Dispose of the dead flowers—leaving them in the pot can attract pests or diseases.
Pro tip: I prefer pinching for smaller, delicate mums, but for larger varieties, I use pruners. It’s faster and less messy.
3. Continue Throughout the Blooming Season
- Step 1: Deadhead regularly throughout the growing season to keep your plant looking tidy and encourage continuous blooming.
- Step 2: After deadheading, give your plant a light watering and a bit of fertilizer to help it bounce back.
Pro tip: Don’t worry if you miss a few dead flowers—just catch them next time. Consistency is key!
What to Do With Potted Mums After Blooming
Once your mums are done blooming, don’t toss them! Trim the plants back, remove dead foliage, and let them rest. If you’re lucky and take care of them, they’ll come back for another round next year.
How to Make Chrysanthemum Pot Plant Bushy

Want bushier mums? Pinch back the stems when they’re about 6 inches tall. This encourages the plant to grow more side shoots, giving you a fuller, more rounded shape.
I used to skip this step, thinking it wasn’t necessary. Big mistake. Without pinching, my mums grew tall and leggy, with fewer blooms. Now, I pinch religiously, and the difference is night and day.
Common Mistakes with Chrysanthemums in Pots
Even experienced gardeners make mistakes, and chrysanthemums are no exception. Here are some common blunders and how to avoid them:
1. Overwatering
Chrysanthemums hate soggy soil. Overwatering is one of the most common causes of root rot and plant death.
- Fix: Always let the top inch of soil dry out before watering again. Use pots with drainage holes, and avoid letting your mums sit in waterlogged soil.
2. Not Enough Sunlight
Mums need at least 6 hours of direct sunlight to thrive. Without enough light, they become leggy and produce fewer blooms.
- Fix: Place your potted mums in full sun, especially if they’re outdoors. Indoors, position them near a bright, sunny window.
3. Planting Too Early or Late
Planting mums too early in spring or too late in fall can lead to poor growth or early frost damage.
- Fix: Plant your mums in late summer or early fall, when the temperatures start to cool down but there’s still plenty of sunlight.
4. Skipping Deadheading
Deadheading is essential to encourage new blooms. If you skip this step, your mums will stop blooming sooner.
- Fix: Make deadheading a regular part of your care routine. It doesn’t take long, and the reward is more flowers!
5. Not Pruning for Bushiness
Without proper pruning, mums can become leggy and top-heavy, with fewer blooms.
- Fix: Pinch back the tips of your mums when they’re about 6 inches tall to encourage a bushier growth habit.
6. Improper Winter Care
Many people assume their potted mums will survive the winter unprotected, but potted plants are more susceptible to cold damage.
- Fix: Bring potted mums indoors, place them in a garage, or cover them with frost cloth to protect them from freezing temperatures.
Related:
Common Chrysanthemum Pests and Diseases

Photo by Snapwire: https://www.pexels.com/photo/bees-flower-7013/
Chrysanthemums are generally resilient, but like all plants, they can fall prey to pests and diseases. Here are the most common issues you might encounter with potted mums and how to address them:
1. Aphids
These tiny pests suck the sap from the leaves, causing them to curl and yellow.
- Solution: Spray the plant with insecticidal soap or neem oil. I also like to blast them off with a strong jet of water from the hose—works like a charm!
2. Spider Mites
Spider mites are tiny, spider-like pests that can cause yellow spots and webbing on the leaves.
- Solution: Spider mites thrive in dry conditions, so mist your plant regularly and use insecticidal soap if necessary.
3. Powdery Mildew
This fungal disease shows up as a white, powdery substance on the leaves, usually in humid conditions.
- Solution: Improve air circulation around the plant by spacing out your pots. You can also use a fungicidal spray to control mildew. I’ve found that keeping my plants in an area with good airflow helps a lot.
4. Root Rot
Root rot occurs when the roots stay too wet for too long, leading to mushy, brown roots and a dying plant.
- Solution: Avoid overwatering and make sure your pots have adequate drainage. If root rot does set in, remove the plant from the pot, trim away the affected roots, and replant in fresh, well-draining soil. It’s heartbreaking when root rot hits, but it’s not always a lost cause if you catch it early!
5. Leaf Spot
Leaf spot shows up as dark, discolored patches on the leaves and is often caused by fungal or bacterial infections.
- Solution: Remove and dispose of affected leaves to prevent the spread. You can also apply a copper-based fungicide if the problem persists. Make sure to avoid overhead watering, as wet leaves can make the issue worse.
6. Slugs and Snails
Slugs and snails love munching on chrysanthemum leaves, especially in damp or shaded conditions.
- Solution: Hand-pick these pests at night or early in the morning, or set up slug traps (I use beer traps; they’re cheap and effective). You can also use organic slug pellets if the problem gets out of hand.
7. Botrytis Blight (Gray Mold)
This fungal disease causes flowers to rot and leaves to turn brown. It thrives in cool, damp conditions.
- Solution: Improve air circulation and avoid overhead watering. Remove affected parts of the plant and use a fungicide if necessary.
Final Thoughts
Chrysanthemum care in pots—whether indoors or outdoors—can seem daunting at first, but trust me, with a little bit of TLC and the right know-how, you'll have these beauties flourishing in no time.
Don’t forget to keep an eye out for pests and diseases—aphids, spider mites, and powdery mildew are just some of the culprits you might face. But with a little vigilance and the right care, you can nip those problems in the bud.
At the end of the day, growing chrysanthemums in pots is all about finding a rhythm that works for you and your plants. Take time to experiment, adjust, and learn from any mistakes along the way. Your mums will repay you with beautiful blooms and vibrant colors throughout the fall!
Have you grown chrysanthemums in pots before? Share your tips or experiences in the comments below! I’d love to hear what’s worked for you—and what hasn’t.
External resources: For more gardening tips on chrysanthemum care in pots, check out Epic Gardening and Better Homes & Gardens.
FAQ
How long do potted chrysanthemums last?
Potted chrysanthemums typically last about 6-8 weeks when in bloom, but with proper care, they can survive for months or even years. If you overwinter them correctly, they may come back the following season.
Do chrysanthemums do well in pots?
Yes, chrysanthemums do very well in pots, making them perfect for patios, balconies, or small gardens. Just make sure to choose a pot with good drainage and provide plenty of sunlight and consistent watering.
Do chrysanthemums need full sun?
Yes, chrysanthemums thrive in full sun and need at least 6 hours of sunlight a day to produce abundant blooms. Without enough light, their growth may become leggy, and they won’t flower as much.
How to look after potted chrysanthemums?
To look after potted chrysanthemums, water them regularly, ensure they get plenty of sunlight, and deadhead spent flowers to encourage new blooms. During the growing season, feed them with a balanced fertilizer to keep them healthy and thriving.
Do potted mums come back every year?
Potted mums can come back every year if they’re perennial varieties and you care for them properly, especially by overwintering them indoors or protecting them from freezing temperatures. However, many people treat them as annuals due to harsh winter conditions.