
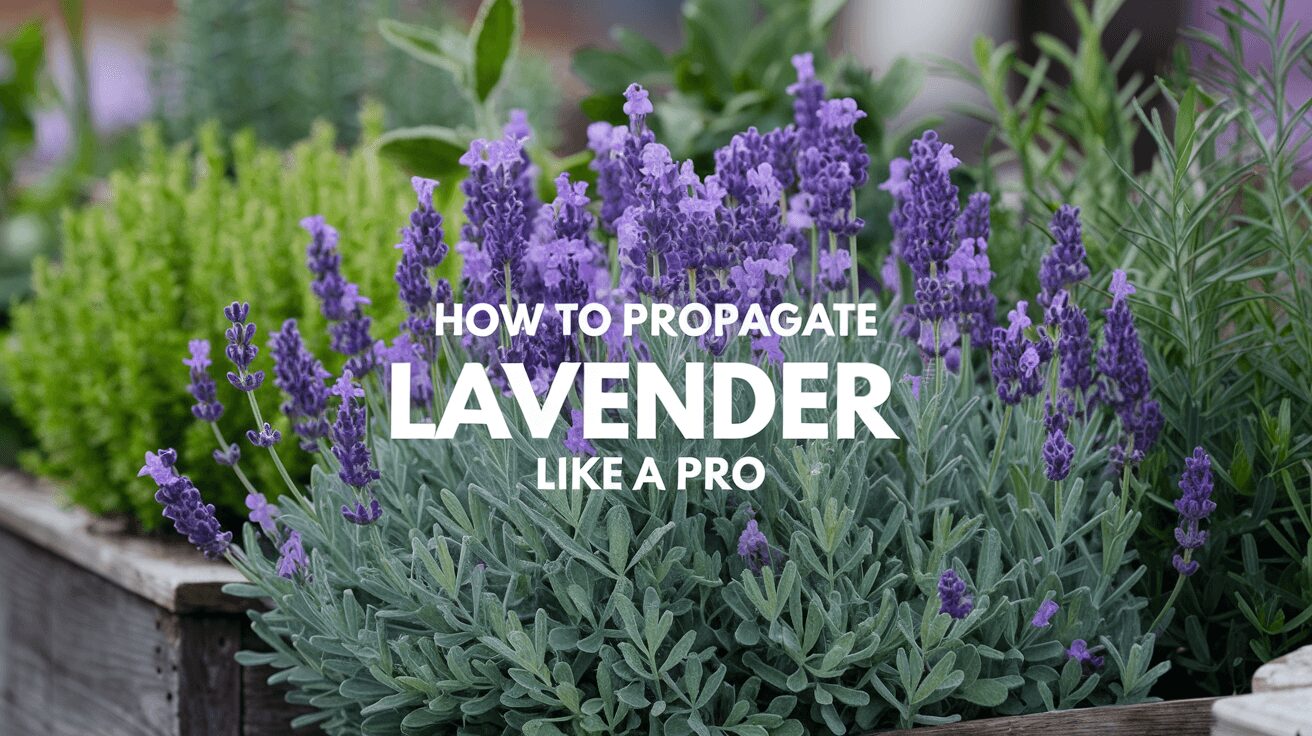
Let me tell you—propagating lavender can be a real game-changer, but only if you get it right. The first time I tried to propagate lavender, I was so excited that I cut all the wrong stems (yeah, it happens).
That’s why it took me ages to figure out what worked. And trust me, you’ll want to avoid that trial and error. Whether you’re doing it to expand your garden or just because lavender’s smell is the best thing ever, propagating lavender is an awesome skill.
But you’ve gotta know when and how to do it. Stick with me, and I’ll save you a lot of headaches!
Why Propagating Lavender Is Important

Why bother propagating lavender in the first place? Well, aside from filling your garden with those gorgeous purple flowers, it’s a super cost-effective way to multiply your plants.
One plant can turn into a whole row, and that lavender hedge you’ve been dreaming of? Totally doable. Plus, once you get the hang of it, it’s super satisfying to watch something you’ve nurtured grow into a full, flourishing plant. There's nothing quite like the scent of success (literally).
Related:
When to Propagate Lavender
Okay, timing is everything when it comes to lavender propagation. You don’t want to mess this up. In my early days, I was way too eager and tried propagating lavender in the dead of winter—spoiler alert, it didn’t work out. The best time to propagate lavender? It’s usually spring or early summer.
However, propagating lavender in the fall can also be done, especially if you’re working with hardwood cuttings.
What You Will Need For Propagating Lavender
Before you dive in, make sure you’ve got everything on hand. There’s nothing worse than getting all hyped up and then realizing you’re missing something halfway through.
Here’s what you’ll need:
- Sharp pruning shears (don’t skimp on this—dull blades will crush the stems, and trust me, that’s a bad idea)
- A healthy lavender plant (duh)
- A small container or pots for propagating
- Potting mix or compost
- Optional: Rooting hormone (more on that later) or honey if you're feeling creative!
I made the mistake of using any old potting mix the first time I tried, and guess what? My lavender didn’t root properly. Now I stick with a light, well-draining potting mix, which has made all the difference.
Where to Cut Lavender to Propagate
This is where I messed up big time. I used to just snip wherever looked good. But there’s a method to the madness. You’ll want to cut lavender just below a leaf node—about 4-6 inches from the tip.
Aim for non-flowering stems because they’ve got more energy to focus on rooting rather than blooming. If you cut flowering stems, you're basically asking the plant to multi-task. Spoiler: plants don't multi-task well.
If you’re fascinated by the science behind plant propagation, you might also enjoy our guide on growing parsley from cuttings. It dives deeper into the ‘how’ and ‘why’ of plant growth.
How to Propagate Lavender from Seed

Propagating lavender from seed is like running a marathon—it takes time, patience, and a lot of nurturing. If you’re up for the challenge, here’s how you can do it:
1. Choose the Right Seeds:
Not all lavender seeds are created equal. English lavender (Lavandula angustifolia) is the most common, but French lavender (Lavandula dentata) is also an option. The key here is to pick seeds that are fresh and from a reliable source—germination rates can drop if seeds are old or stored improperly.
2. Cold Stratification (Prepping Seeds):
Lavender seeds need a bit of a “wake-up call,” and cold stratification mimics winter conditions to improve germination rates. Here’s how you do it:
- Place the seeds in a small plastic bag with a bit of damp paper towel.
- Put the bag in the fridge (not the freezer!) for 3-4 weeks. This cold period tricks the seeds into thinking they’ve been through winter, prepping them for growth.
3. Prepare Your Growing Medium:
- Fill a seed tray or small pots with light, well-draining soil. I recommend a mix of peat moss, perlite, and vermiculite.
- Moisten the soil slightly—lavender seeds need damp soil, but not soggy!
Related:
4. Plant the Seeds:
- Scatter the seeds over the surface of the soil. Lavender seeds are tiny, so no need to bury them deep—just lightly press them into the soil.
- Cover the tray or pots with plastic wrap or a clear lid to create a mini greenhouse effect. This will keep moisture levels up.
5. Provide the Right Environment:
- Place the trays in a warm, sunny spot (or under grow lights) with temperatures around 65°F to 70°F (18-21°C). Lavender seeds need warmth to germinate.
- Be patient—germination can take 2-4 weeks.
6. Keep the Soil Moist:
Water gently with a spray bottle whenever the soil starts to dry out. Too much water can cause mold or rot, so avoid drenching the soil.
7. Transplanting:
Once the seedlings have a couple of true leaves, they’re ready to be transplanted into individual pots. Gradually move them to a sunnier location, or start acclimating them to outdoor conditions if the weather permits.
8. Time to Grow:
From seed to full plant can take a full year or more. Be patient. If you want quicker results, propagation by cuttings might be a better option.
Propagating Lavender by Cuttings
This is the bread and butter of lavender propagation. And if you do it right, it’s almost foolproof. There are three ways to propagate lavender from stem cuttings: in water, soil, and with hardwood cuttings.
Propagating Lavender in Water

This method is great if you want to keep an eye on root growth and love seeing that progress. Plus, it’s a bit of a no-brainer in terms of effort. Here's how to do it:
1. Select Your Lavender Cutting:
- Choose a 4-6 inch cutting from a healthy, non-flowering stem. Flowering stems focus their energy on blooming rather than rooting, so avoid them.
- Make the cut just below a node (the part where a leaf joins the stem). This is where the roots will emerge.
2. Prepare the Cutting:
- Strip the leaves from the lower half of the cutting. You don’t want any leaves sitting in the water—they’ll rot and create a mess.
- Optionally, dip the cut end in a rooting hormone. This can speed up the rooting process, though lavender often roots just fine without it.
3. Place in Water:
- Put the prepared cutting in a jar or glass of water, ensuring the leafless part is submerged, but no leaves are touching the water.
- Use a clear container so you can easily monitor the root growth. Keep the jar in a bright, indirect light spot.
4. Change the Water:
- Here’s a tip I learned the hard way—change the water every 3-5 days. Stagnant water invites bacteria and can cause the cutting to rot before it roots.
- Keep an eye on it, and don’t let the water level drop below the cutting.
5. Watch for Roots:
After about 3-4 weeks, you should start seeing tiny roots forming. If nothing’s happening after a month, don’t panic—lavender can sometimes take up to 6 weeks to root in water.
6. Transplant to Soil:
- Once the roots are at least 2 inches long, gently transfer the cutting to a pot with well-draining soil. Be gentle during the transfer—those roots are fragile!
- Water lightly and place the pot in a sunny spot. The cutting will now transition into a full-fledged plant.
Read Next:
Propagating Lavender in Soil

This is the tried-and-true method for lavender propagation. It requires a bit more patience but often yields stronger, hardier plants in the long run.
1. Prepare Your Cutting:
Just like with the water method, start with a 4-6 inch cutting from a non-flowering stem. Make a clean cut just below a node and strip off the lower leaves.
2. Use Rooting Hormone:
Dip the cut end in rooting hormone powder or gel. This step isn’t 100% necessary, but it increases the likelihood of success, especially for beginners. If you don’t have rooting hormone, you can also use honey as a natural alternative (it has antifungal properties).
3. Prepare the Pot:
- Fill a small pot with well-draining soil. I like to use a mix of perlite and compost to ensure proper drainage. Lavenders hate sitting in wet soil.
- Moisten the soil slightly before planting.
4. Plant the Cutting:
- Stick the cutting about 2 inches into the soil, firming the soil around the base to keep it upright.
- I recommend planting multiple cuttings in the same pot to increase your chances of success. Some might take, some might not—that’s just part of the game.
5. Create a Humid Environment:
- Cover the pot with a plastic bag or dome to create a mini greenhouse. This will keep humidity levels high, which is crucial for root development.
- Keep the pot in a bright, warm spot, but avoid direct sunlight. The goal is to give the cutting light without scorching it.
6. Water Sparingly:
Watering is tricky here. Keep the soil slightly moist, but not soggy. Overwatering can lead to root rot, which is the quickest way to kill your new cuttings.
7. Wait for Roots:
Lavender is slow to root, so don’t expect instant results. Check for roots after about 6-8 weeks by gently tugging on the cutting. If you feel resistance, roots are forming.
8. Transplanting:
Once the roots are well-established, move the cutting into its own pot or directly into the garden. Make sure the soil remains well-drained, and gradually introduce the new plant to more sunlight.
Tips for Propagating Lavender

These tips are the result of many mistakes, so don’t skip them!
- Avoid Flowering Stems: Cuttings taken from flowering stems will put their energy into blooming, not rooting. Use non-flowering stems for the best success rate.
- Sharp Tools Only: Dull scissors or shears will crush the stems rather than make a clean cut, reducing the chance of successful rooting. Always use sharp tools!
- Humidity Matters: If you’re propagating in soil, the plastic bag trick (or a clear plastic cup) is a lifesaver. It keeps moisture in and helps the cuttings root faster. Just remember to remove the bag daily for a little ventilation.
- Don’t Overwater: Lavender is a Mediterranean plant, which means it prefers dry conditions. Overwatering will kill your efforts quicker than anything else. Keep the soil lightly moist, not wet.
- Be Patient: Lavender cuttings take time. It can be a little frustrating, but once the roots form, it’s all smooth sailing from there.
Problems Propagating Lavender
Even the most experienced gardeners run into issues. Here’s what can go wrong and how to fix it:
Mold Growth:
This happens when the environment is too humid or the water isn’t changed regularly (in the case of water propagation). If you notice mold on the soil or cutting, remove the affected parts immediately and ventilate the setup more often. Mold thrives in stagnant, moist conditions.
Root Rot:
Overwatering is the usual suspect here. In soil propagation, always ensure the pot has proper drainage and the soil isn’t waterlogged. If you notice your cutting wilting or turning black at the base, it’s likely a sign of root rot. Pull it out, check the roots, and remove any rotting sections.
Cuttings Not Rooting:
If after 6-8 weeks you still don’t see roots, it could be because the cutting was too old, wasn’t taken from the right part of the plant, or the conditions weren’t ideal.
Try again with a fresher cutting, and make sure you’re using a rooting hormone or keeping humidity levels consistent.
Leaves Yellowing:
If you see yellowing leaves on your lavender cutting, it's often a sign of overwatering. Lavender is drought-tolerant, so too much water can stress the plant and prevent rooting.
If you notice yellow leaves, let the soil dry out a bit more between waterings. In water propagation, changing the water frequently can help prevent this issue.
Wilting Cuttings:
Wilting can happen if the humidity is too low or the cutting is drying out. If you’re propagating in soil, ensure you’ve created that little humid environment with a plastic bag or a dome.
For water propagation, make sure the cutting has enough water to stay hydrated, but don’t let the leaves dip into the water. Also, check to make sure you haven’t placed your cuttings in direct sunlight—they need bright, indirect light to thrive.
Slow Growth:
Sometimes, everything seems right, but the cuttings take forever to grow. This can happen if the temperature is too low (lavender loves warmth) or if the plant is focusing on healing rather than rooting.
Try moving the cutting to a warmer location or use a heat mat under your propagation tray to speed up the rooting process.
Propagating Lavender with Honey
Honey is a natural rooting hormone! Yup, you read that right. It’s antifungal and helps stimulate root growth. I was skeptical at first, but it really does work.
Just dip your cutting in honey before planting it in soil. It’s a fun, organic way to get your lavender cuttings going.
Propagating Lavender Without Rooting Hormone
If you don’t have rooting hormone on hand, no worries. Lavender can root without it, though it might take a bit longer. Just keep the cuttings moist and patient. Sometimes, Mother Nature just needs a little extra time.
How Long Do Lavender Cuttings Take to Root?

Okay, here's the golden question. How long will this take? In my experience, it can take anywhere from 3 to 8 weeks, depending on the method you use. Water cuttings tend to show roots sooner, but soil cuttings are sturdier in the long run. Either way, it’s worth the wait.
Final Thoughts
Propagating lavender, whether by seeds or cuttings, takes a little patience and the right approach, but it’s incredibly rewarding. From watching those tiny seeds sprout to seeing roots form on a stem, it’s a journey that brings you closer to your garden.
Plus, who doesn’t love having extra lavender plants to dot around their home or gift to friends?
If you’ve had any interesting experiences with lavender propagation, share your stories and tips in the comments! I’d love to hear if you’ve had success with water propagation or if you’ve mastered the art of growing lavender from seeds.
Whatever your journey, there’s always something new to learn from fellow gardeners. Let's help each other out!
External Resources: For more gardening tips on how to propagate lavender, check out The Spruce and Almanac for some grow and care tips.
FAQ
Can you root lavender cuttings in water?
Yes, you can root lavender cuttings in water, though it can take a bit of patience. Place the cutting in a glass of water, ensuring the bottom of the stem is submerged, and change the water every few days. Roots typically start to appear within 3 to 6 weeks.
What month to take lavender cuttings?
The best time to take lavender cuttings is during late spring or early summer when the plant is actively growing. However, you can also take hardwood cuttings in the fall, which are slower to root but still effective.
Is lavender easy to propagate?
Lavender is relatively easy to propagate, especially from stem cuttings. While it takes patience and the right conditions, most gardeners find success with both water and soil methods, as long as they avoid overwatering and ensure good drainage.
Can you put lavender cuttings straight in the ground?
Yes, you can plant lavender cuttings directly in the ground, but it’s best to do so in well-draining soil and during warmer months. You may want to dip the cutting in rooting hormone to encourage faster rooting, and keep the area slightly moist until roots establish.