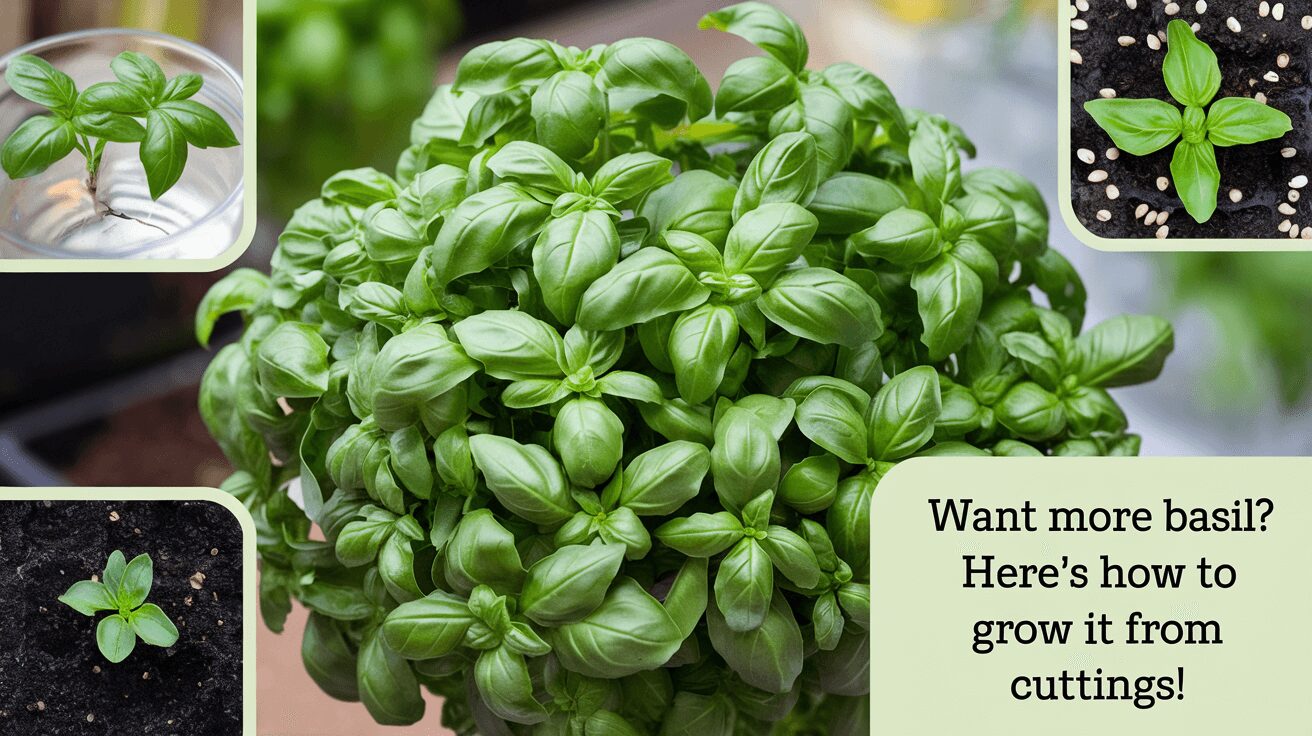
Ever tried propagating basil, and it just… flopped? Trust me, I’ve been there! In fact, did you know that basil is one of the easiest herbs to propagate, and yet, it can go wrong in so many ways if you’re not careful? Yep, I’ve learned that the hard way.
But here's the thing – once you get the hang of it, you’ll never go back to buying those pricey basil plants again. You’ll be snipping off cuttings from your basil plant like a pro and filling your garden or windowsill with lush, fragrant herbs in no time.
Why Propagating Basil so important?
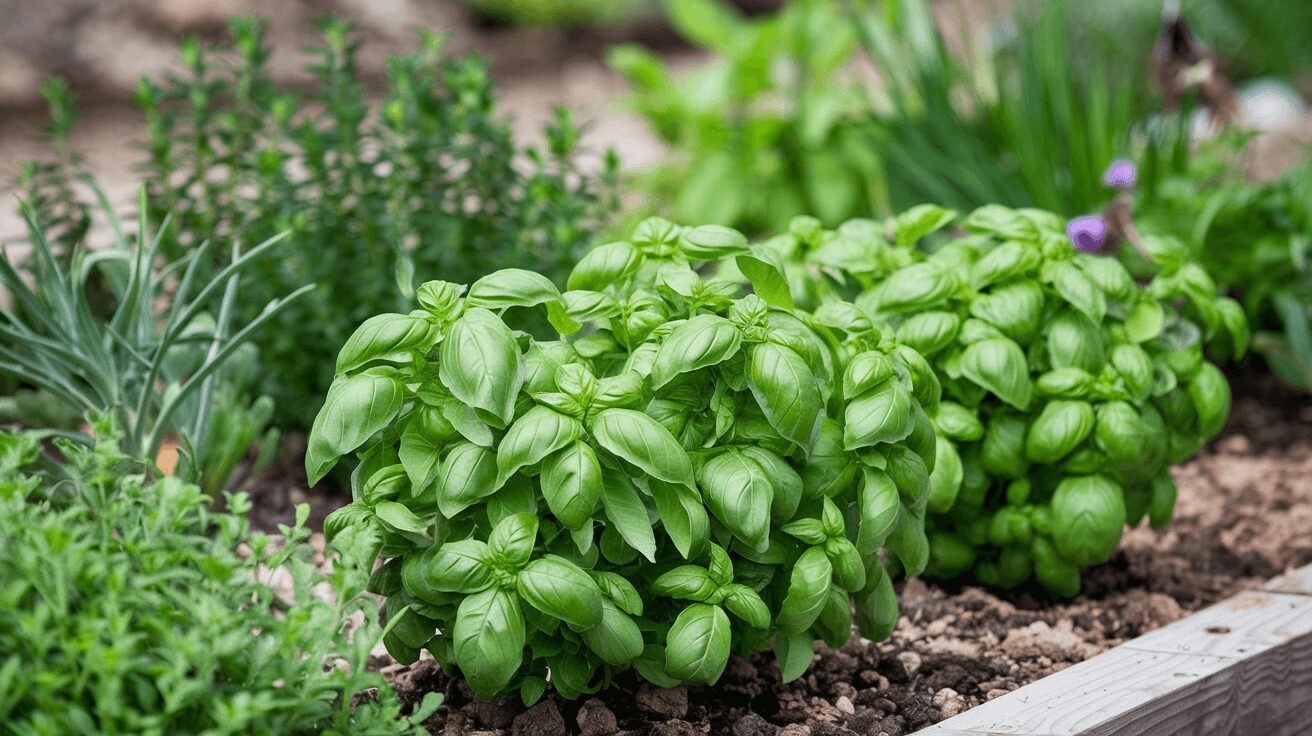
For starters, basil is a must-have in the kitchen. Whether you're throwing together a quick pesto, garnishing pizza, or tossing it into a fresh salad, having an abundant supply is a game changer. Plus, propagating basil is just plain fun (once you get past the early hiccups)!
Ready to dive into all things basil? Let's start snipping.
Related:
Propagating basil can be easy and rewarding, but sometimes seeing is believing. If you need a little extra inspiration to kickstart propagating your basil? This amazing video by GrowVeg walks you through every step of the process. Watch the video below!
Propagating Basil from Cuttings
Once you’ve got your cutting, the next step is turning that little piece of basil into a brand-new plant. There’s something so satisfying about watching roots start to form on your cuttings.
The process is pretty simple, and you can propagate basil either in water or soil, depending on your preference. Both methods work, but I’ve found that starting with water gives you a better visual of what’s going on.
Propagating Basil in Water
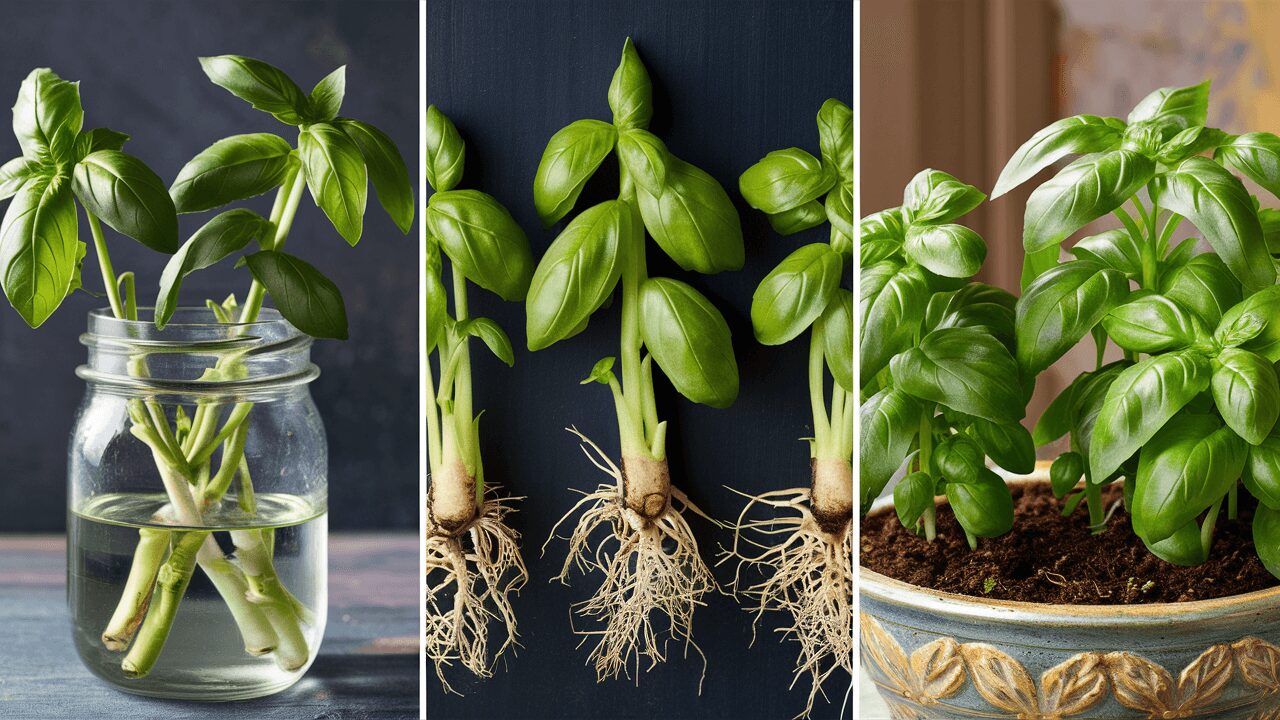
I’m a big fan of propagating basil in water because you can watch the roots grow. Plus, it’s almost foolproof. Here’s how to do it:
- Fill a jar with water: Any clean glass or jar will do. I usually go for something small like a mason jar, just because it’s the perfect size to hold a few cuttings without them flopping over.
- Place the cutting in water: Make sure the node you cut is submerged in the water, but keep the leaves out of the water. If the leaves touch the water, they’ll start to rot, which can ruin the entire cutting.
- Change the water regularly: This is one of those little things that makes a big difference. I’ve forgotten to change the water for a few days, and the cutting still grew, but it’s best to change it every 2-3 days to keep things fresh. Fresh water helps prevent bacteria and encourages faster rooting.
- Wait for roots to grow: This part takes a bit of patience. Usually, after about a week, you’ll start to see little roots forming at the base of the cutting. Once the roots are around 1-2 inches long, your basil cutting is ready to be planted in soil.
- Transplant to soil: When the roots are nice and strong, gently move your basil into a pot of well-draining soil. Water it well, and keep it in a sunny spot. In just a few weeks, your cutting will be thriving like it was never even snipped!
Propagating Basil in Soil
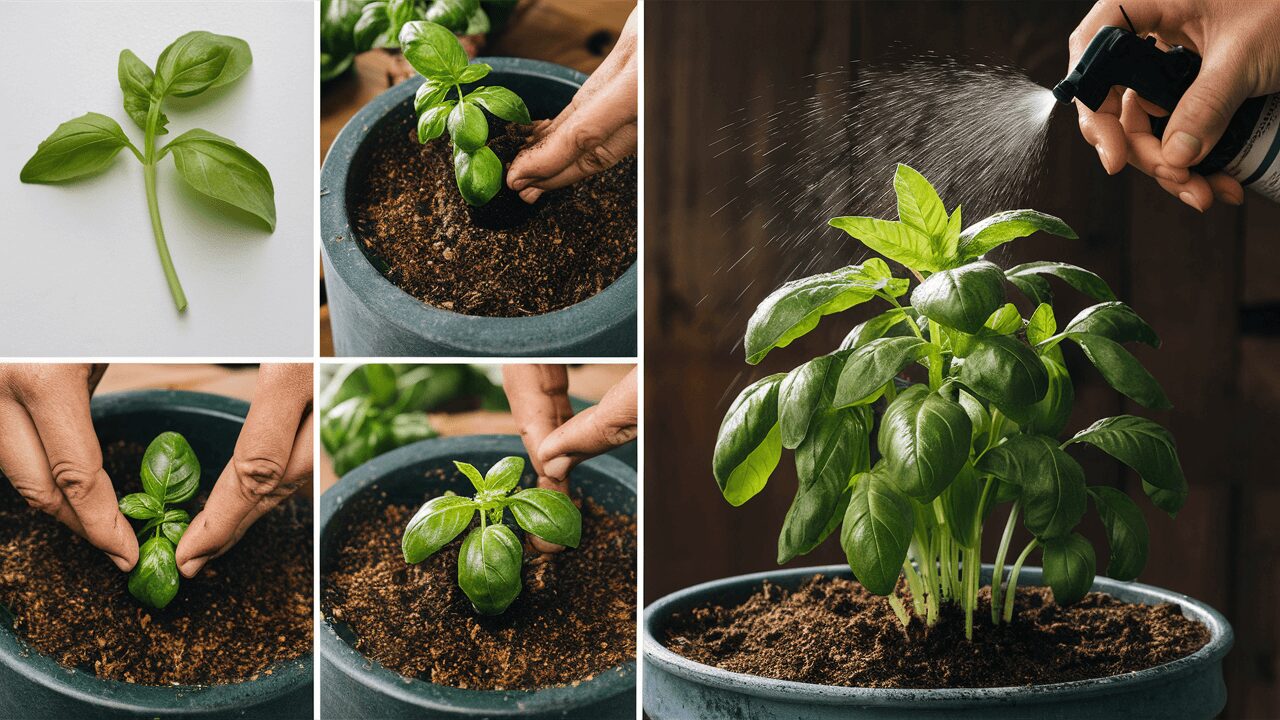
If you’re more of a soil person or don’t want to deal with the hassle of transplanting, you can also propagate basil cuttings directly in soil. Here’s how:
- Prepare your pot and soil: Choose a small pot with good drainage, and fill it with a light potting mix. Basil doesn’t like soggy roots, so make sure your soil drains well.
- Insert the cutting: Stick your basil cutting into the soil, making sure the node is covered. Gently press the soil around the stem to keep it stable. You don’t want the cutting to wobble or fall over.
- Water thoroughly: After planting, give the soil a good soak. But be careful not to overwater. You want the soil to be damp but not waterlogged.
- Cover with a plastic bag (optional): If your indoor air is dry, you can create a little greenhouse effect by covering the cutting and pot with a plastic bag. This helps lock in humidity, which encourages rooting.
- Place in a sunny spot: Basil loves light, so put your cutting in a bright area where it gets at least 6 hours of sun per day. Keep the soil moist, and in about two weeks, you should start seeing new growth.
Related:
Where to Cut Basil to Propagate
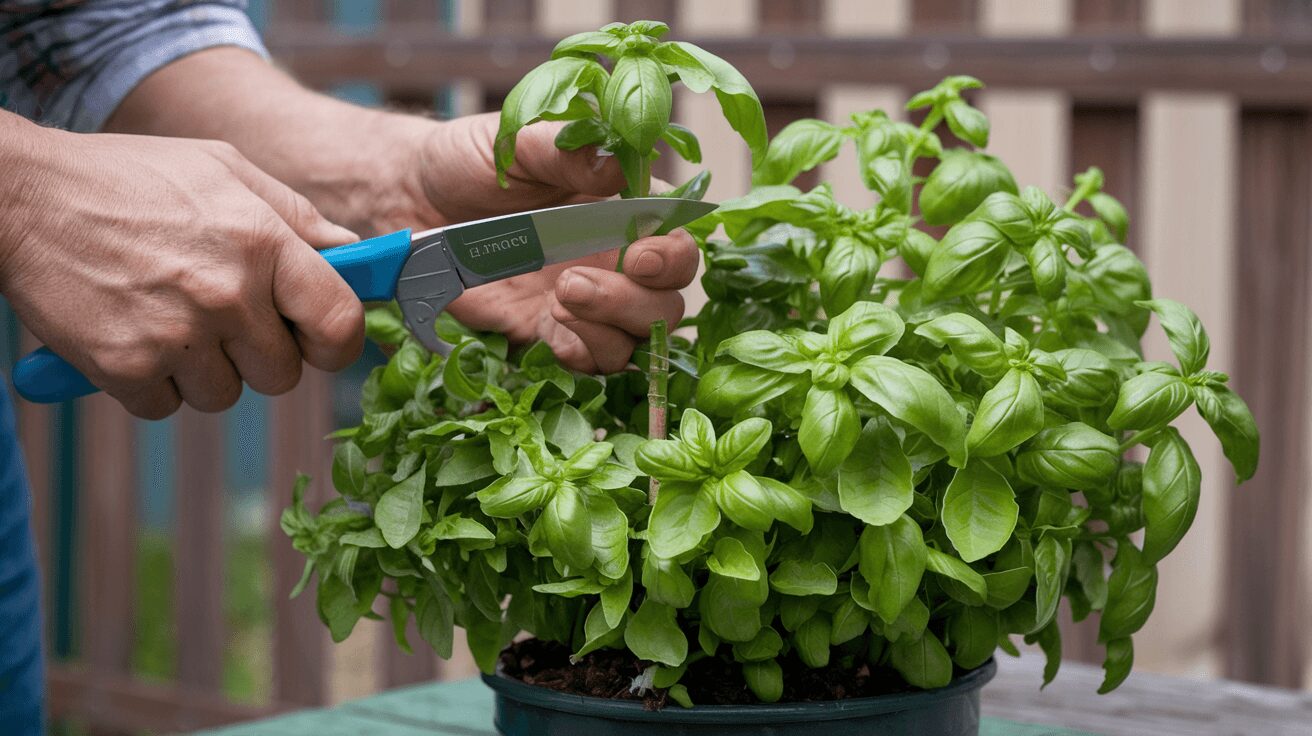
One of the most common mistakes people make when propagating basil is cutting in the wrong place. I know because I used to just snip the top leaves, thinking more leaves meant more growth.
But the real trick lies in cutting just below a node. A node is the small bump on the stem where the leaves grow out. This is the sweet spot for propagation because it’s where the plant’s natural growth hormones are most concentrated, making it ideal for growing new roots.
Step-by-Step:
- Locate a healthy stem: Start with a basil plant that’s strong and healthy. Look for a stem that’s around 4-6 inches long with at least a few sets of leaves on it. Avoid any that look wilted, discolored, or diseased.
- Identify the node: A node is the junction where the leaf meets the stem. You’ll usually find these every couple of inches along the stem. For best results, look for a section with 2-3 nodes. This will give the cutting plenty of rooting potential.
- Make the cut: With clean, sharp scissors or pruning shears (trust me, dull blades can damage the plant), cut just below the node. Make sure you leave a bit of stem below the node for support. Don’t worry about cutting too much—basil is a tough plant and will bounce back quickly from pruning.
- Remove lower leaves: Once you’ve made the cut, strip off any leaves from the bottom few inches of the stem. You don’t want any leaves in the water or soil because they can rot and ruin your chances of successful propagation.
Propagating Basil from Seeds
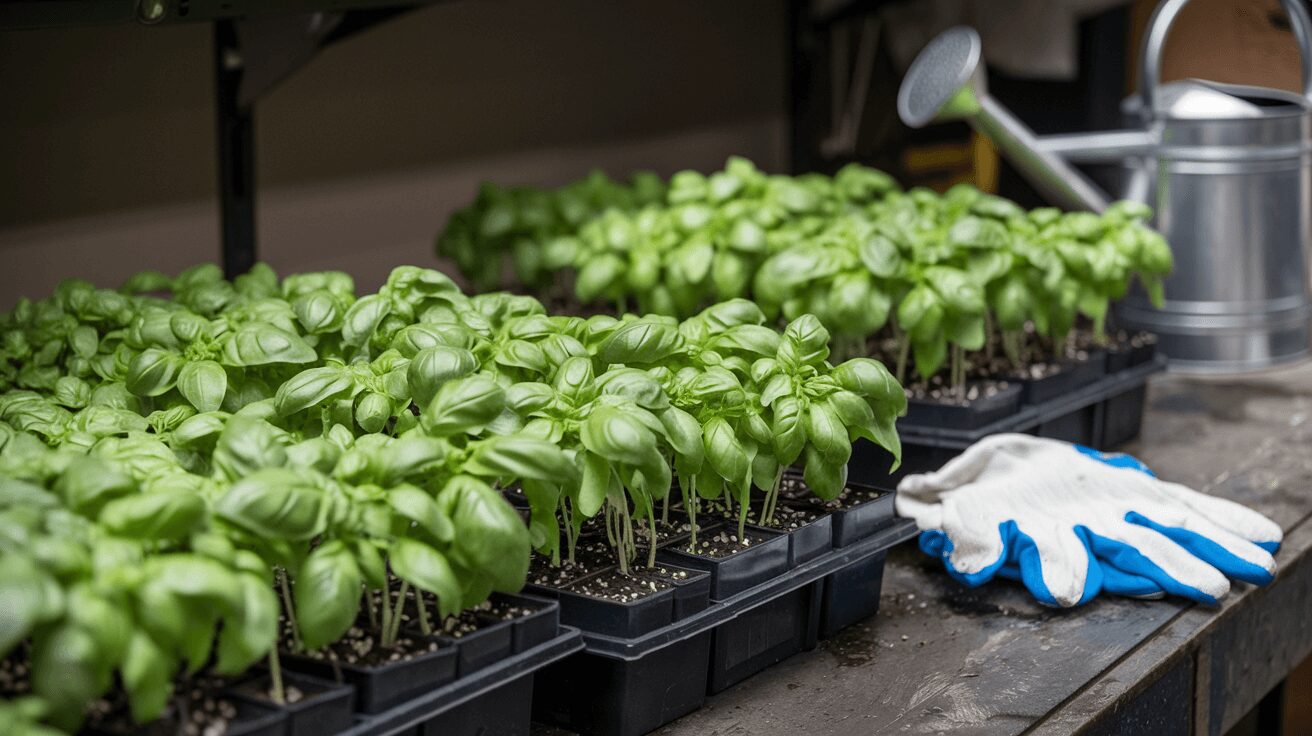
Now, propagating basil from seeds is a different ballgame. It takes a little more patience, but it’s so worth it when those tiny green shoots start to poke through the soil.
Plus, growing basil from seeds allows you to cultivate different varieties that you might not find as cuttings at your local nursery. Purple basil, anyone?
Step-by-Step for Starting from Seeds:
1. Pick your seeds:
Basil seeds are tiny, so make sure you choose a fresh, high-quality packet. If you’re a seed saver like me, just be sure the seeds you’re using haven’t been sitting around too long. Fresh seeds will give you the best germination rates.
2. Prepare your soil:
Basil seeds prefer light, well-draining soil. You don’t need anything fancy—just a basic potting mix will do. I like to start my seeds in small seedling trays or pots.
3. Sow the seeds:
Sprinkle the seeds evenly over the surface of the soil. You don’t need to plant them deep—just a light dusting of soil on top is enough. I usually just gently press them down with my fingers to make sure they have good contact with the soil.
4. Mist the soil:
Water is crucial at this stage, but you don’t want to drown your seeds. I prefer misting with a spray bottle to keep the soil damp. If you pour water directly, you might end up washing the tiny seeds away.
5. Cover and keep warm:
Basil seeds need warmth to germinate. Cover your tray with a plastic lid or plastic wrap to help retain moisture and warmth. Place the tray in a warm spot, but avoid direct sunlight at this stage. A temperature of around 70°F is ideal for germination.
6. Watch for sprouts:
This is the fun part! After about 5-10 days, you should see tiny basil seedlings emerging from the soil. Once the sprouts appear, remove any plastic covering and move them to a sunny spot.
7. Thin the seedlings:
Basil seeds can germinate close together, so once the seedlings are about 1-2 inches tall, thin them out by snipping the weaker ones at the base. This gives the stronger seedlings more room to grow.
8. Transplant when ready:
After about 4-6 weeks, your seedlings will be ready to transplant into larger pots or directly into your garden. Make sure they’re strong enough to handle the move—look for at least two sets of true leaves before transplanting.
Related:
How to Propagate Basil from Flowers
Alright, here’s a trickier one. Can you propagate basil from flowers? Well, technically, you can collect seeds from the flowers, but you won’t grow a new plant directly from a flower cutting.
Trust me, I tried. That said, once your basil starts flowering, it's often a sign that it's reached the end of its growth cycle. If you’re serious about propagating, it’s best to pinch off those flowers and focus on stem cuttings or seeds instead.
Can You Propagate Basil from a Leaf?
Okay, so can you propagate basil from a single leaf? In short, no. Sorry to crush any dreams here, but a leaf alone won’t root. It needs a node – that’s the magic part. I tried a leaf propagation experiment once, and after weeks of waiting… nothing. Stick to stems or seeds for the best results!
Final Thoughts
Propagating basil isn’t just easy – it’s downright rewarding. Whether you’re growing from cuttings, seeds, or experimenting with water and soil, the process is full of little triumphs (and, okay, a few learning moments). The key is patience and a little know-how, both of which you’ve now got in spades!
Don’t be afraid to try different methods and see what works best for you. And if you mess up? No worries – basil is pretty forgiving, and there’s always another plant to grow.
Got any propagation tips of your own? Share them in the comments below, and let's keep the basil growing party going!
External Resources: For more gardening tips and tricks, be sure to explore University of Illinois Extension on growing basil and The University of Maine for more advanced propagation techniques.
FAQ
Do basil cuttings root in water?
Yes, basil cuttings root quite easily in water. Simply place a cutting with a few leaves into a glass of water, making sure the node (where the leaves were removed) is submerged. After about a week, you should see small roots forming, and once they are 1-2 inches long, the cutting can be transplanted into soil.
How to propagate basil from cuttings?
To propagate basil from cuttings, first, cut a healthy stem just below a node. Place the cutting in a glass of water or directly into soil, ensuring the lower leaves are removed to prevent rotting. Keep the cutting in bright, indirect sunlight and change the water every 2-3 days or keep the soil moist until roots form.
Can you propagate basil with just a leaf?
Unfortunately, you can't propagate basil with just a leaf. Basil needs a section of stem with a node (where leaves meet the stem) to successfully develop roots. Without this, a single leaf won’t be able to produce the necessary roots to grow a new plant.
Does basil regrow after cutting?
Yes, basil regrows after cutting, often growing back even bushier. When you cut basil above a leaf node, the plant responds by producing two new shoots from that node, promoting fuller growth. Regular pruning encourages a healthy, productive basil plant.

