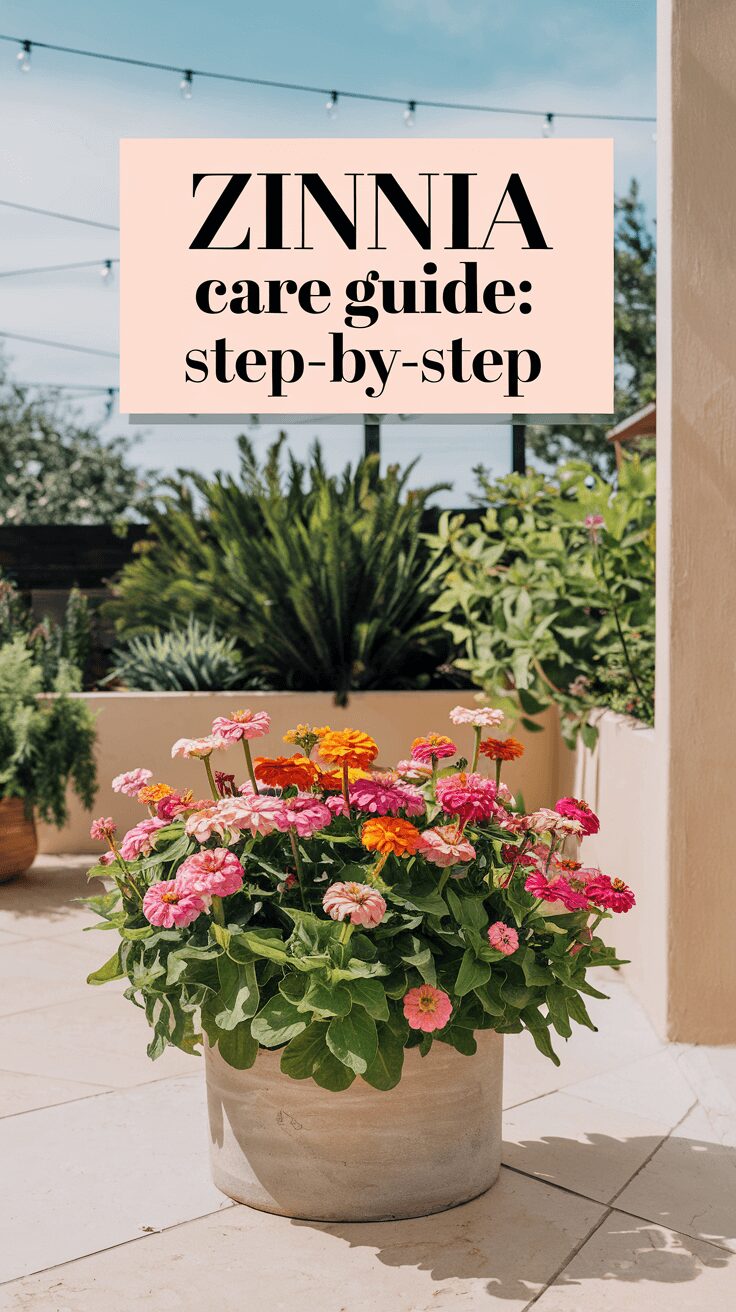
Caring for zinnias can be a rewarding experience. Want to know why? They’re super easy to grow, and they reward you with bursts of color all season long. Zinnias are the ultimate flower for beginner and experienced gardeners alike.
But, like all good things, they need a little TLC (tender loving care) to truly thrive.
Here's the deal: If you follow a few simple rules, you’ll be the proud owner of the most vibrant garden on the block—trust me! I’ve made a few mistakes along the way, so I'll be sharing those too, to save you some hassle.
About Zinnias
Zinnias are one of those flowers that make you look like a professional gardener, even if you’re totally winging it.
I started growing them because I heard they were easy, and man, was that an understatement. Native to the hot regions of Mexico, zinnias love the sun and are super forgiving. Missed a day of watering? No worries! They bounce back like they were never thirsty in the first place.
Fun fact: Zinnias are named after the German botanist Johann Gottfried Zinn, who helped popularize these colorful blooms.
Botanical Name: | Zinnia elegans |
Family: | Asteraceae |
Plant Type: | Annual |
Sun Exposure: | Full sun (6-8 hours of direct sunlight) |
Soil Type: | Well-drained, loamy soil |
Soil pH: | Neutral to slightly acidic (6.0 to 7.5) |
Bloom Time: | Late spring to first frost |
Flower Color: | Wide variety, including red, pink, purple, yellow, orange, white, and multicolored |
Hardiness Zones: | USDA zones 2-11 (grown as an annual) |
Water Needs: | Moderate (water deeply but allow the soil to dry between waterings) |
Height: | 1 to 4 feet, depending on the variety |
Spread: | 12 to 18 inches |
Sowing: | Directly sow seeds outdoors after the last frost, or start indoors 4-6 weeks before the last frost. |
Native Area: | Mexico, Central America, and the southwestern United States |
Related:
Benefits of Growing Zinnias
Besides the obvious aesthetic benefits (they look amazing!), zinnias are great because they attract pollinators. I remember the first time I saw a butterfly land on one of my zinnia blooms—it was like something out of a nature documentary.
These flowers bring life to your garden, attracting bees, butterflies, and even hummingbirds. Plus, they’re excellent cut flowers! Your vases will thank you.
Types of Zinnias
There are so many varieties of zinnias, it’s almost overwhelming. But don’t stress—I’ve broken it down for you:
- Single-flowered zinnias: These have one layer of petals. Think simple, classic.
- Double-flowered zinnias: These are the showstoppers. They have layers upon layers of petals, making them look like pompoms.
- Cactus-flowered zinnias: These are spiky and edgy—perfect if you want to mix things up a bit in your garden.
I’ve grown all three types and, honestly, they all have their own charm. But if you’re looking for drama, go for the double-flowered ones. You’ll feel like you’re gardening royalty.
When to Plant Zinnias
Here’s where I messed up my first year. I was so eager to get those zinnias in the ground that I planted too early—before the last frost. Rookie mistake! Zinnias are heat lovers, so they need warm soil to germinate.
Aim for planting after your last frost date when the soil temps hit around 70°F. And hey, if you're not sure, just wait until it's comfortably warm outside. Trust me, they’ll grow quickly once the conditions are right.
Caring for Zinnias
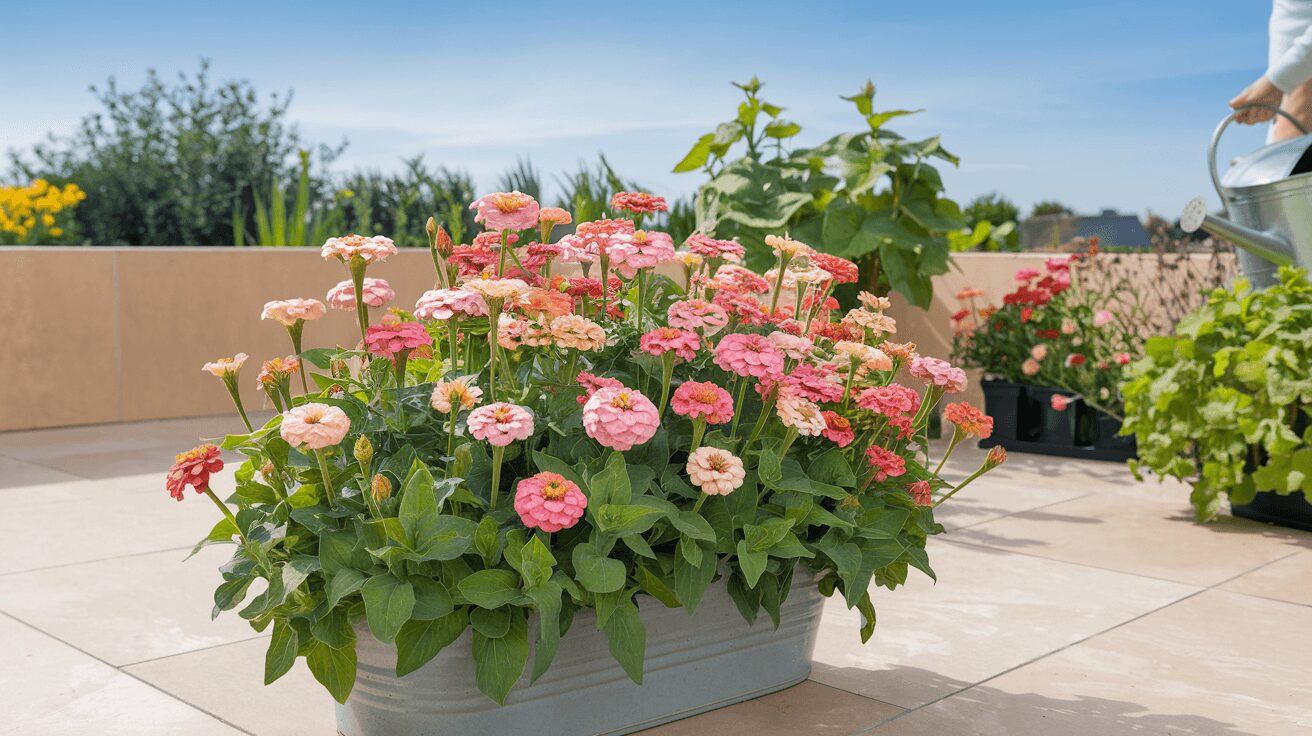
This section is the bread and butter of zinnia care. Let’s break it down:
Light
Zinnias are sun worshippers! Find the sunniest spot in your garden because they need at least 6 hours of direct sunlight every day. I once tried to squeeze them into a partly shady area, thinking it would be “good enough.” Spoiler alert: It wasn’t. They grew tall but spindly, and the flowers were a bit sad. Lesson learned!
Soil
Zinnias aren’t too picky, but they’ll do best in well-drained, loamy soil. If you’ve got clay or sandy soil, consider mixing in some compost to improve texture and drainage. One year, I didn’t bother amending my soil, and my zinnias looked… well, meh. Don’t make my mistake—get that soil right!
Water
Zinnias like to be watered deeply but less frequently. I water mine about once or twice a week, depending on how hot it gets. The trick is to avoid getting the leaves wet because that can lead to powdery mildew (which I’ve had to deal with more times than I’d like to admit).
Temperature & Humidity
Zinnias thrive in hot weather. As long as temps stay above 60°F at night, they’re happy campers. Humidity? They’re fine either way. Just make sure to keep air circulation good if you’re in a humid area—powdery mildew is not your friend.
Fertilizer
I’ve learned the hard way that less is more when it comes to fertilizing zinnias. I over-fertilized one season, thinking it would give me giant blooms. Instead, I got giant plants with hardly any flowers! Stick to a balanced fertilizer once or twice during the growing season, and you’ll be golden.
Staking
If you’re growing tall varieties, like Zinnia elegans, you’ll need to stake them, especially if you’re in a windy area. Trust me, nothing is more frustrating than waking up after a windy night to find your zinnias face-down in the dirt. Been there, done that.
Caring for Zinnias Indoors
If you’re thinking about starting your zinnias indoors, I totally get it. I’ve done this a couple of times, mostly because I’m impatient and want flowers ASAP.
You’ll need a sunny windowsill or grow lights to get them going. Start seeds about 4-6 weeks before your last frost date, and make sure you harden them off before planting outside.
Caring for Zinnias Outdoors
Once your zinnias are outside, they’re pretty low-maintenance. Keep up with watering and deadheading, and you’ll have flowers until the first frost. One tip? Mulch around the plants to help conserve moisture and keep weeds at bay. Your zinnias will thank you.
Deadheading Zinnias: Why and How to Do It
Deadheading is a simple but important task to keep your zinnias blooming throughout the season. When you deadhead, you remove the spent or faded flowers before they can set seeds.
This process directs the plant’s energy back into producing more blooms rather than focusing on seed production.
Here’s how you can deadhead zinnias:
- Look for Faded Blooms: Check your zinnia plants regularly for blooms that are starting to wilt, fade, or dry out.
- Snip Below the Bloom: Use clean, sharp scissors or garden shears to snip the spent bloom just above the nearest set of leaves or branching stem. This encourages the plant to create new flowers at that point.
- Repeat Often: Deadheading every few days will keep your zinnias blooming continuously through the summer and into the fall. You’ll notice your plants looking bushier and more productive!
Propagating Zinnias: A Step-by-Step Guide
Propagating zinnias is incredibly rewarding, especially when you realize how easy it is to grow these beauties from seeds. Whether you're collecting seeds from existing plants or buying new ones, the process is straightforward.
Step 1: Choosing Healthy Zinnia Plants
When propagating zinnias from seeds, the key is starting with strong, healthy parent plants. Here’s what I’ve learned from my own gardening experiences—choose the best blooms for seed collection.
If you pick seeds from plants that had disease issues or weak growth, you're more likely to propagate those issues too.
Step 2: Allow Flowers to Go to Seed
This is where patience comes in. To collect seeds, you’ll need to let the flowers dry on the plant. Resist the temptation to deadhead these blooms—you’ll notice they start turning brown and dry after flowering. This is when the magic happens!
- Tip: Choose the biggest and healthiest flowers to save seeds from. This increases the chances of growing robust plants next season.
Step 3: Collecting the Seeds
Once the flowers have completely dried out on the plant, gently pluck them off. It’s best to do this on a dry day. I learned the hard way that collecting wet seed heads leads to mold growth—definitely not what you want!
- Hold the dried flower head over a paper towel or a bowl.
- Gently crush or break apart the seed head to release the seeds.
Zinnia seeds are flat and arrow-shaped. You’ll often get some chaff or plant debris along with them, which is fine.
Step 4: Storing the Seeds
Proper storage is crucial for keeping your zinnia seeds viable until the next planting season. I store mine in paper envelopes or small mason jars with labels, keeping them in a cool, dry spot. Remember, moisture is the enemy here—any moisture left on the seeds could cause them to rot.
Step 5: Sowing Zinnia Seeds
Come spring, you’re ready to plant your zinnia seeds! You can start them indoors about 4-6 weeks before your last frost or directly sow them outdoors after the danger of frost has passed.
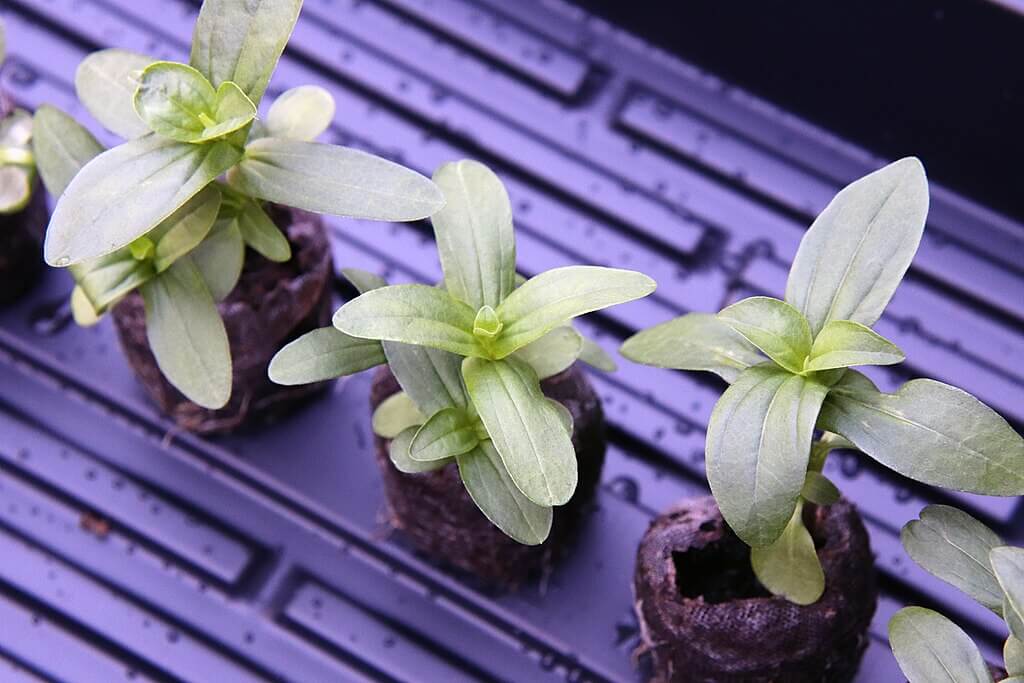
- For indoor planting: Use small seed trays or pots. Lightly cover the seeds with soil and keep them in a sunny spot. You’ll see sprouts in about 7-10 days.
- For direct sowing: Once the soil warms up to around 70°F, scatter the seeds in your garden bed. Lightly rake the soil to ensure the seeds are covered, and water gently.
Step 6: Transplanting Zinnia Seedlings
When starting seeds indoors, make sure to harden them off before transplanting. About a week before planting them outside, gradually expose the seedlings to the outdoors by placing them outside for a few hours each day.
Step 7: Enjoy Your New Zinnia Blooms!
With a bit of care, your zinnias will start blooming in just a couple of months after planting. They’ll continue to flower until the first frost, giving you months of colorful blooms!
Reed Next:
Problems Growing Zinnias: Step-by-Step Solutions
Even though zinnias are easy-going plants, they can sometimes run into issues. I’ve had my share of zinnia problems over the years, and I’m here to help you troubleshoot!
1: Powdery Mildew
If you’ve ever seen a white, powdery substance on the leaves of your zinnias, you’re dealing with powdery mildew. This is one of the most common problems gardeners face with zinnias.
- Step 1: Prevention is key. Powdery mildew thrives in humid conditions with poor air circulation, so avoid overcrowding your zinnia plants. Give each plant enough space for good airflow.
- Step 2: Water at the base of the plants, not from overhead. Wet leaves are more susceptible to mildew growth.
- Step 3: If powdery mildew appears, treat it right away with a homemade solution of baking soda and water (1 tablespoon baking soda + 1 gallon of water). You can also use neem oil or a commercial fungicide.
I once let powdery mildew go unchecked for too long, thinking it wasn’t a big deal. Big mistake! It spread quickly, and I had to remove entire plants by the end of the season.
2: Leggy Growth
Leggy zinnias happen when they aren’t getting enough sunlight. This was an issue for me when I tried growing them in partial shade—lesson learned!
- Step 1: Move your zinnias to a spot that gets at least 6 hours of direct sunlight.
- Step 2: Pinch back the stems of young plants to encourage bushier growth. I usually start pinching when they’re about 6 inches tall. It helps create more robust, fuller plants with multiple blooms.
3: Root Rot
Zinnias need well-drained soil, or their roots will rot, especially if there’s too much rain or overwatering.
- Step 1: Ensure the planting area has good drainage. Avoid heavy clay soil or amend it with compost.
- Step 2: Water your zinnias only when the top inch of soil feels dry. Overwatering is a common mistake that leads to root rot.
- Step 3: If you suspect root rot, carefully dig up the plant and check the roots. Healthy roots are white or light tan. Dark, mushy roots indicate rot—if it’s severe, the plant might not recover.
4. Leaf Spot
Leaf spot shows up as dark brown or black spots on the leaves. It’s usually caused by a fungal or bacterial infection, often from too much moisture.
- Step 1: Remove affected leaves as soon as you see them to prevent the disease from spreading.
- Step 2: Avoid overhead watering and make sure the plants have good air circulation.
- Step 3: In severe cases, treat with a copper-based fungicide or a biological fungicide like Bacillus subtilis.
5. Alternaria Blight
This fungal disease causes small, dark spots on zinnia leaves and can lead to the plant’s death if untreated.
- Step 1: Remove infected plants immediately to prevent the disease from spreading.
- Step 2: Water in the morning so the leaves can dry out during the day, and avoid splashing soil onto the plants.
- Step 3: Use a fungicide that’s labeled for blight control, and rotate crops to avoid reinfection next season.
Pests Affecting Zinnias
Zinnias, unfortunately, aren’t immune to pests and diseases. Here are the common culprits and how to manage them.
1. Aphids
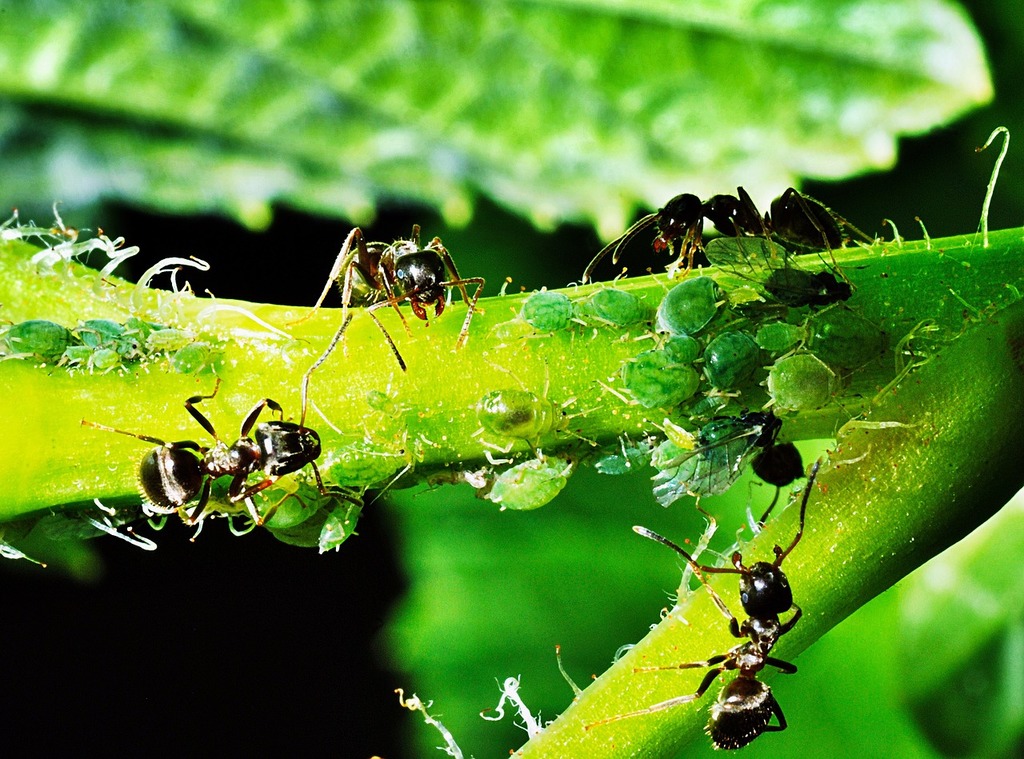
These tiny pests suck the sap from zinnia leaves, causing wilting and yellowing.
- Step 1: Inspect the undersides of leaves regularly for aphids.
- Step 2: A strong spray of water can dislodge aphids. I’ve found this method surprisingly effective!
- Step 3: If the infestation is larger, use insecticidal soap or neem oil. You can also encourage beneficial insects like ladybugs to stick around—they love munching on aphids.
2. Spider Mites
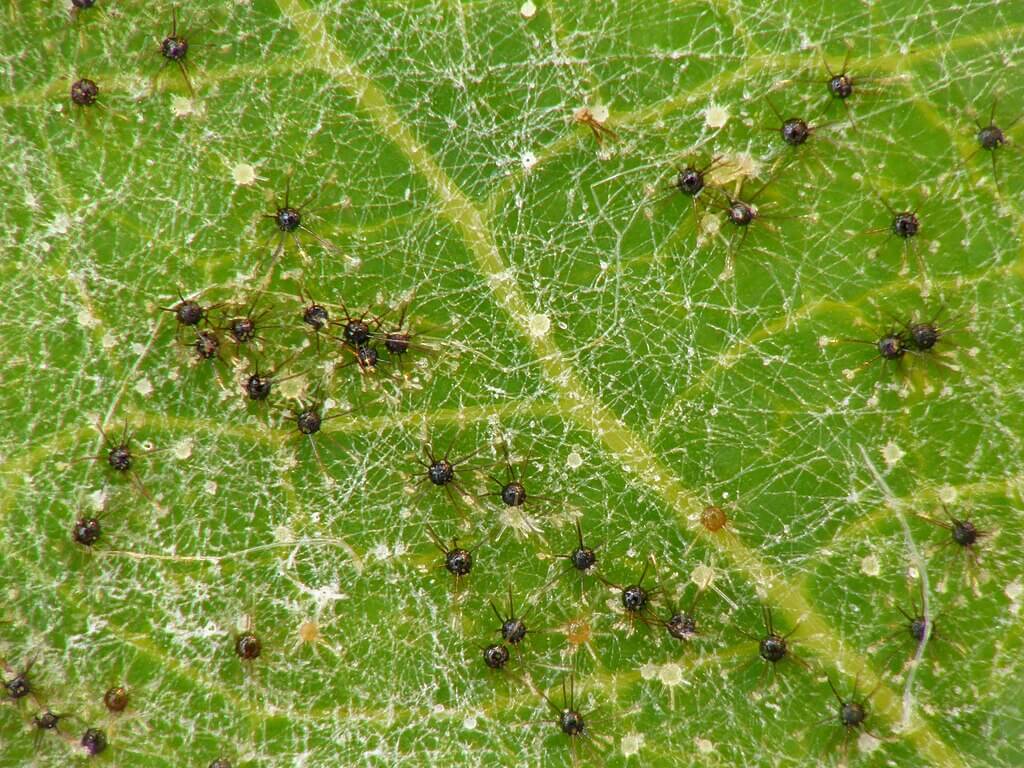
Spider mites are super tiny and often go unnoticed until you see the damage—yellowed leaves and fine webbing.
- Step 1: Increase humidity around the plant by misting the leaves. Spider mites hate moisture.
- Step 2: Use a strong water spray to knock them off. This worked wonders for me last season.
- Step 3: In severe cases, opt for insecticidal soap or neem oil to keep the population under control.
3. Whiteflies
Whiteflies are small, winged insects that feed on the sap of zinnia plants. I remember a particularly bad whitefly invasion that had me frustrated for weeks!
- Step 1: Place yellow sticky traps near the plants to catch whiteflies. I’ve used these, and they work pretty well as a first line of defense.
- Step 2: Introduce natural predators like parasitic wasps or use insecticidal soap for larger infestations.
- Step 3: If using chemical control, make sure to follow the label instructions to avoid harming beneficial insects.
Related:
Final Thoughts
Growing and caring for zinnias can be a rewarding experience. Whether you're a newbie or an experienced gardener, these flowers are sure to bring color, life, and a bit of magic to your garden.
Trust me, once you’ve grown them, you’ll wonder why you didn’t start sooner. Got any tips of your own for growing zinnias? Drop them in the comments—I’d love to hear them!
External Resources: For more gardening tips caring for zinnias, check Almanac and Chicago Botanic Garden for more techniques.
FAQ
How do I keep zinnias blooming all summer?
To keep zinnias blooming all summer, deadhead spent flowers regularly, which encourages more blooms—a great way to caring for zinnias. Also, make sure they get plenty of sunlight and water them consistently without overwatering, as zinnias thrive in well-drained soil.
Do zinnias like full sun or shade?
Zinnias love full sun! They need at least 6-8 hours of direct sunlight daily to thrive and produce vibrant blooms. In partial shade, they may become leggy and produce fewer flowers.
Do zinnias come back every year?
Zinnias are annuals, meaning they complete their life cycle in one season. They won’t come back on their own, but you can easily collect their seeds and replant them the following year.
Do zinnias do better in pots or in the ground?
Zinnias can thrive both in pots and in the ground, but they generally grow better in the ground due to more space for their roots. However, dwarf varieties do well in containers with proper drainage and care.
Zinnia water requirements?
Zinnias need regular watering but prefer well-drained soil to avoid root rot. Water them deeply once or twice a week, depending on rainfall, ensuring the soil dries out slightly between waterings.
What temperature will kill zinnias?
Zinnias are warm-weather plants and can’t survive frost. Temperatures below 32°F (0°C) will kill them, so make sure to plant them after the last frost in spring.
How tall do zinnias grow?
Zinnias can vary in height depending on the variety, with most growing between 1 to 4 feet tall. Dwarf varieties stay under a foot, while larger ones can reach up to 4 feet or more!

