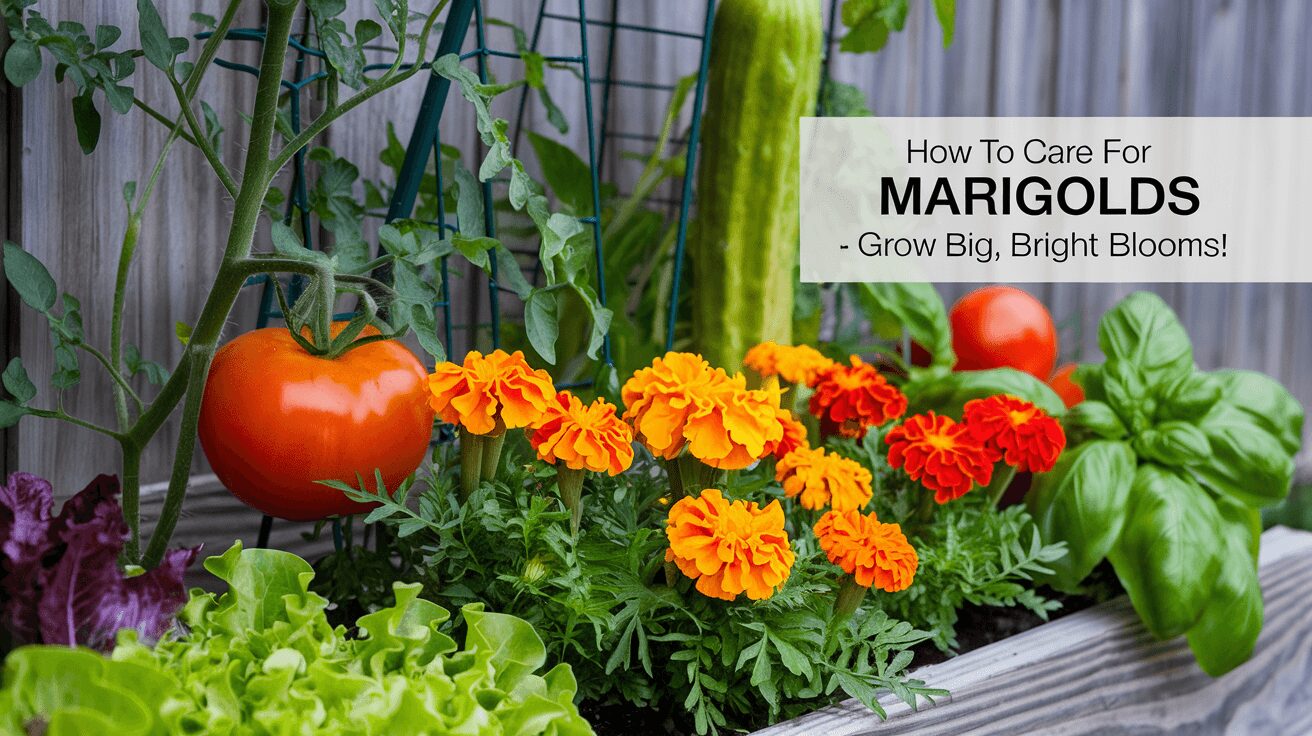
Caring for marigolds, whether they’re African or French, can be a rewarding experience. By understanding their specific needs and how to tackle common issues, you’ll be well on your way to having a vibrant and healthy garden.
Whether you’re starting from seeds or just trying to keep a pot of marigolds alive, this guide will walk you through all the steps, from planting to propagation to troubleshooting problems. Let’s dig in!
About Marigolds
First things first: marigolds are more than just a pretty face. Known for their vibrant yellows, oranges, and deep reds, marigolds add color to any garden or even your front porch.
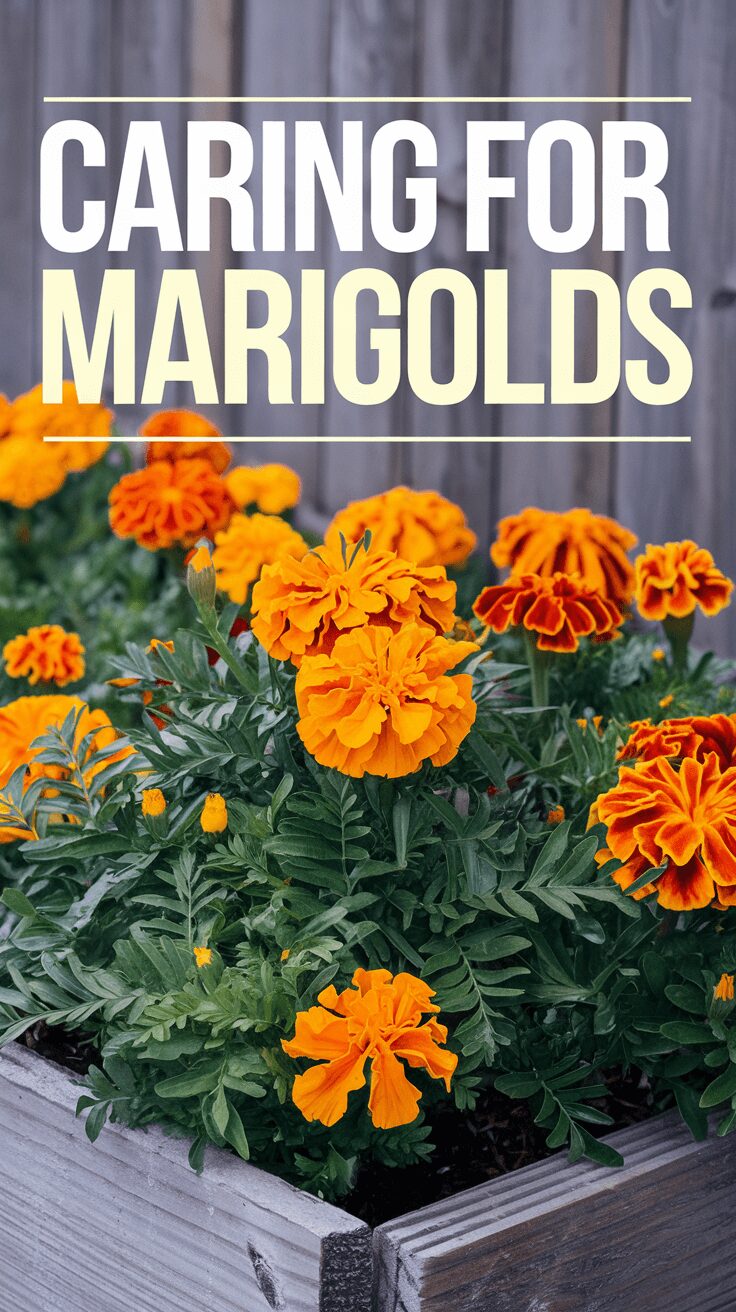
They’re annuals, meaning they bloom for one season and need to be replanted every year. But, the payoff? So worth it.
Fun fact: marigolds have been used for centuries in religious rituals, medicinal practices, and even as natural pest repellents!
Botanical Name: | Tagetes spp. |
Family: | Asteraceae (also known as the daisy or sunflower family) |
Plant Type: | Annual or perennial (depending on species and climate) |
Mature Size: | African Marigolds (18-36 inches); French Marigolds (6-12 inches) |
Sun Exposure: | Full sun |
Soil Type: | Well-draining, sandy or loamy soils |
Soil pH: | Slightly acidic to neutral (pH 6.0-7.0) |
Bloom Time: | Late spring through frost |
Flower Color: | Shades of orange, yellow, and red |
Hardiness Zones: | 2-11; can vary by species |
Water Needs: | Moderate; prefers well-drained soil and drought-tolerant once established |
Spread: | French marigolds (8-12 inches); African marigolds (12-18 inches) |
Sowing: | Start seeds indoors 6-8 weeks before the last frost date or sow directly in the garden after the danger of frost has passed. |
Native Area: | Mexico and Central America |
Read Next:
Benefits of Growing Marigolds 
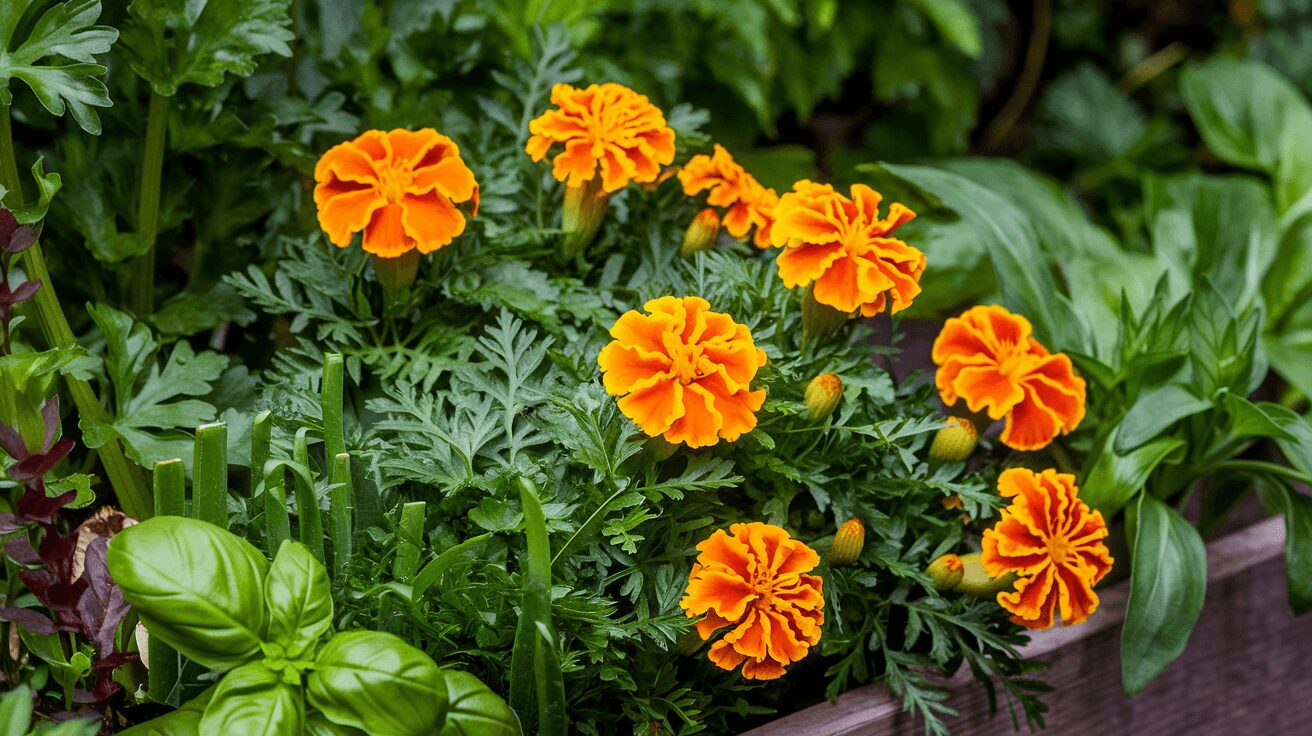
Marigolds are more than just eye-catching blooms; they offer several practical benefits that make them a must-have in your garden.
1. Natural Pest Repellent
One of the biggest perks of growing marigolds is their ability to act as a natural pest deterrent. I’ve seen this firsthand when aphids invaded my garden. Planting marigolds helped reduce the problem, especially near veggies like tomatoes and cucumbers.
The flowers release compounds called thiophenes, which deter pests such as nematodes, aphids, and mosquitoes. They’re like your garden’s bodyguards!
2. Attract Beneficial Insects
Marigolds are also magnets for helpful insects like ladybugs and bees. Ladybugs feast on harmful pests like aphids, while bees ensure your garden is well-pollinated.
I once had a patch of marigolds near my vegetable garden, and the bee activity skyrocketed, which led to healthier crops.
3. Versatility in Garden Design
Marigolds come in a variety of shapes and sizes, so they work well in almost any garden setup. French Marigolds are great for compact spaces, while African Marigolds add bold, vibrant color to larger beds.
You can even mix them into your vegetable garden as companion plants or plant them in hanging baskets on your porch.
4. Low Maintenance
These flowers are incredibly easy to grow. They can handle a bit of neglect and still thrive, which makes them perfect for beginner gardeners or those with busy lifestyles. Trust me, if you forget to water your marigolds for a day or two, they’ll usually forgive you. They’re not divas like some other flowers!
5. Edible & Medicinal Uses
Did you know some varieties of marigolds are edible? Signet Marigolds have a citrusy flavor and can be used to garnish salads. I’ve also read that marigold petals have been used in traditional remedies for skin irritation and inflammation. Plus, dried marigold petals can be made into a natural dye—who knew?
Types of Marigolds
Not all marigolds are created equal! You've got your French Marigolds, which are shorter and bushier, and your African Marigolds (also called American marigolds), which are tall and have large, round blooms.
The French varieties are great for smaller pots and compact gardens, while African ones make a big statement. Then there’s the Signet Marigold, which has smaller, edible flowers (yep, you read that right—edible!). I once threw these in a salad, and my friends thought I was a gourmet chef. Spoiler: I’m not.
When to Plant Marigolds
Here’s a mistake I made once—I planted my marigolds too early in the spring, and, well, they didn’t make it. Lesson learned! Marigolds love warmth, so plant them after the last frost when the soil is nice and warm, usually around late spring.
They’ll bloom from early summer right through the fall, giving you months of gorgeous color.
Where to Plant Marigolds
You can plant marigolds pretty much anywhere, as long as they get a ton of sunlight. They need at least 6 hours of full sun each day. Stick them in your garden, along borders, or in pots—just make sure the spot is sunny. Oh, and here’s a tip: keep them away from areas prone to dampness or heavy rain.
Marigolds hate soggy feet (roots), and trust me, they’ll rot fast if left in waterlogged soil.
Caring for Marigolds 
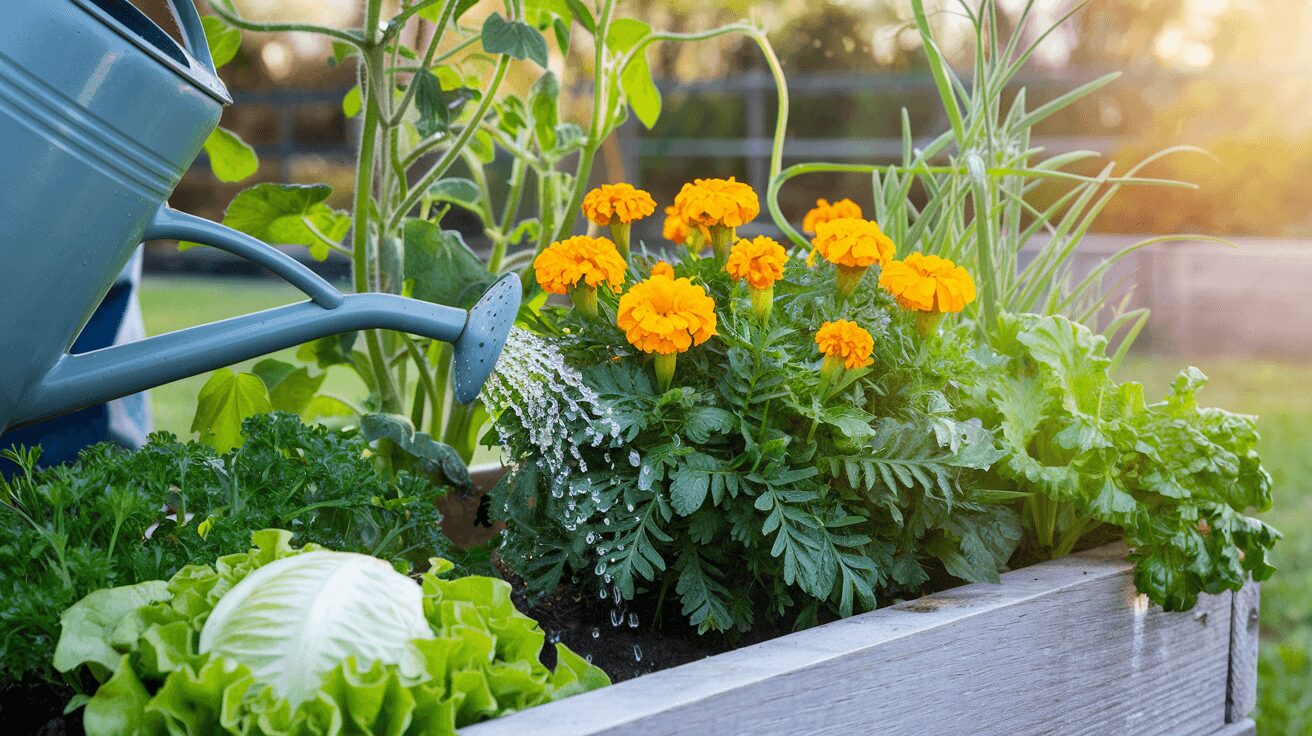
Caring for marigolds is a pretty straightforward process, but there are some important factors to consider. Here's a detailed step-by-step guide to ensure your marigolds thrive.
Step 1: Plant in the Right Location
First things first—pick the sunniest spot you can find. Marigolds thrive in full sun, which means at least 6 hours of sunlight each day. I once tried growing marigolds in partial shade, and they ended up leggy and sparse. Don’t make that mistake—sunlight is key!
Step 2: Choose Well-Draining Soil
Marigolds aren’t picky about soil, but they absolutely hate sitting in water. Use well-draining soil with organic matter for the best results. If you’re growing them in pots, make sure there’s a drainage hole to let excess water escape.
- Pro Tip: Mix in some compost to enrich the soil. Marigolds don’t need heavy feeding, but they’ll appreciate a nutrient boost.
Step 3: Water Properly
This is where a lot of people, including myself in my early gardening days, tend to go wrong. Marigolds need to be watered at the base of the plant, avoiding the foliage. Wet leaves can lead to mildew and other diseases. Keep the soil moist but not waterlogged, and let it dry out a bit between watering sessions.
- Pro Tip: Water deeply once or twice a week instead of giving them a light sprinkle every day. This encourages deeper root growth and healthier plants.
Step 4: Keep an Eye on Temperature & Humidity
Marigolds thrive in warm temperatures, usually between 70°F and 75°F (21°C to 24°C). They’re not big fans of high humidity, so avoid planting them in overly damp areas. In hot and dry climates, give them a little extra water to prevent wilting.
Step 5: Fertilize Occasionally
When caring for marigolds, they don’t require a lot of feeding. In fact, too much fertilizer can lead to lush foliage at the expense of flowers. I use a balanced, all-purpose fertilizer every 4 to 6 weeks during the growing season. A little goes a long way.
Step 6: Deadhead Regularly
Deadheading, or removing spent blooms, is essential to keep your marigolds blooming all season long. Simply pinch or snip off the dead flowers once they start to fade. It may seem tedious, but trust me, this will encourage new blooms and keep your plant looking fresh.
- Pro Tip: Deadhead as soon as you notice wilting blooms. It only takes a few seconds and can make a big difference in the flower’s lifespan.
Caring for Marigold Seedlings
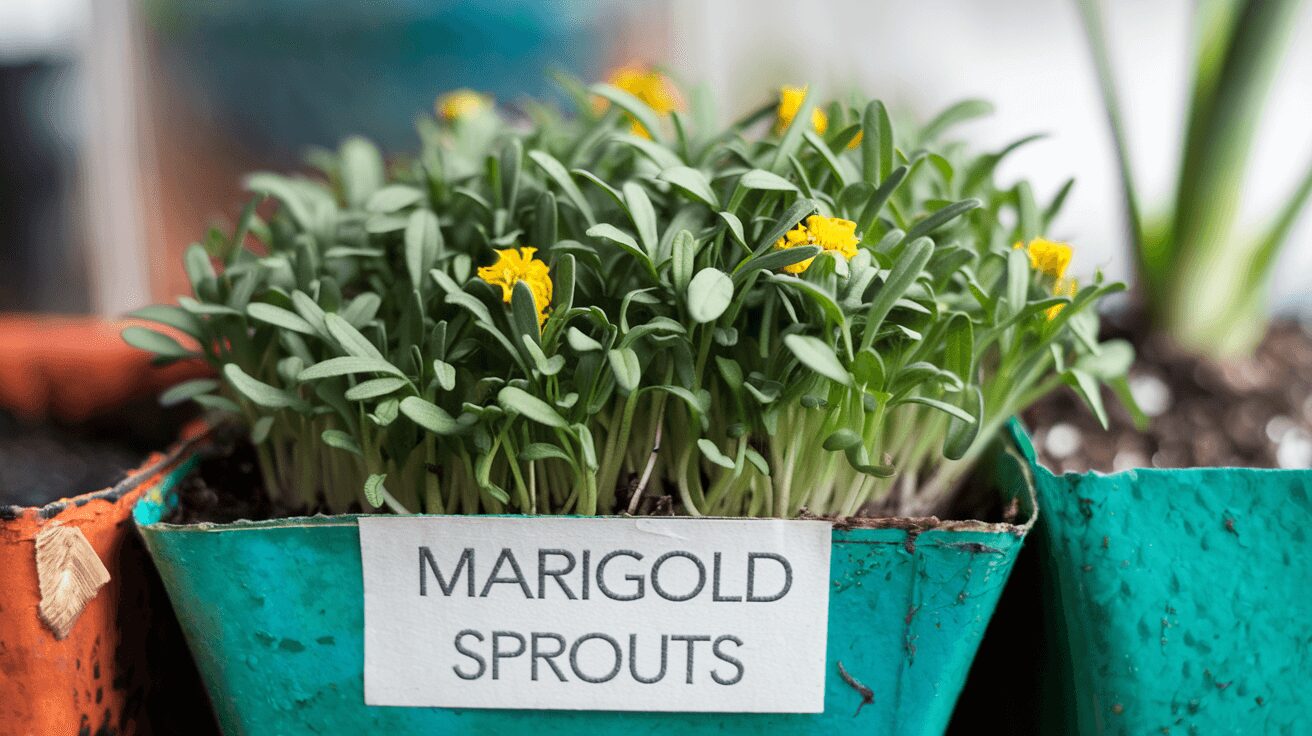
Seedlings need a little extra TLC. Make sure they’re getting enough light, but avoid overwatering. I once drowned my seedlings because I thought more water meant faster growth—spoiler: it doesn’t. Water when the top inch of soil feels dry.
Caring for African Marigolds vs. French Marigolds 
Caring for marigolds, whether African and French marigolds, both bring vibrant color to your garden, but they have distinct care needs. Here's a detailed comparison to help you manage each type effectively.
Aspect | African Marigolds | French Marigolds |
Size | Tall, can reach 18-36 inches (45-90 cm) | Shorter, usually 6-12 inches (15-30 cm) |
Flower Size | Large, round blooms | Smaller, more delicate blooms |
Growth Habit | Upright and bushy | Compact and bushy |
Sunlight Requirements | Full sun, thrives in hot climates | Full sun, adaptable to various climates |
Watering Needs | Moderate; prefers well-drained soil | Regular; prefers well-drained soil |
Soil Preferences | Well-draining, slightly acidic to neutral | Well-draining, slightly acidic to neutral |
Fertilizer Needs | Less frequent, avoid over-fertilizing | Regular feeding for continuous blooms |
Temperature Tolerance | Heat tolerant, does well in summer | Tolerant of a range of temperatures, prefers cooler conditions |
Disease Resistance | Generally resistant to powdery mildew | Can be susceptible to powdery mildew |
Propagation | Easier to grow from seeds | Easy to grow from seeds |
Growing Marigolds from Seeds 
Growing marigolds from seeds is incredibly rewarding and straightforward. Here’s how to do it step-by-step:
Step 1: Start Indoors (Optional)
If you live in a cooler climate or want to give your marigolds a head start, you can start them indoors about 6 to 8 weeks before the last frost. Fill seed trays or small pots with seed-starting mix and plant the seeds about ¼ inch deep. Keep the soil moist but not soggy. Check out top houseplants to start from seeds
- Pro Tip: Use a seedling heat mat to speed up germination, especially if your home is cool.
Step 2: Sow Seeds Outdoors
If you prefer to sow directly outdoors (which is totally fine for marigolds), wait until after the last frost when the soil is warm. Marigold seeds like warmth to germinate, so cold soil will stunt their growth. Sow the seeds about ¼ inch deep and lightly cover them with soil.
Step 3: Water Gently
Water the newly planted seeds with a fine mist or a gentle sprinkle. The soil should be consistently moist but not soaking wet. Be gentle—if you water too harshly, you might wash the seeds away. If you have busy schedule, you can opt for a DIY self-watering system.
Step 4: Thin Seedlings
Once your seedlings are a few inches tall and have their first set of true leaves, it’s time to thin them out. Space them about 8-12 inches apart for French marigolds and 12-18 inches apart for African marigolds. Thinning gives them room to grow and prevents overcrowding.
Step 5: Transplanting (If Started Indoors)
If you started your seeds indoors, you’ll want to harden off your seedlings before transplanting them outdoors. This just means gradually exposing them to outdoor conditions over a week. After the hardening period, plant them in your garden, making sure they have plenty of sunlight.
Step 6: Water and Care
Keep your newly planted marigolds well-watered but not soaked. Mulch around them to retain moisture and suppress weeds. With proper care, they should start blooming in about 6-8 weeks.
- Pro Tip: Marigolds are quick growers. Once they start blooming, they’ll continue producing flowers until the first frost.
Marigold Companion Plants 
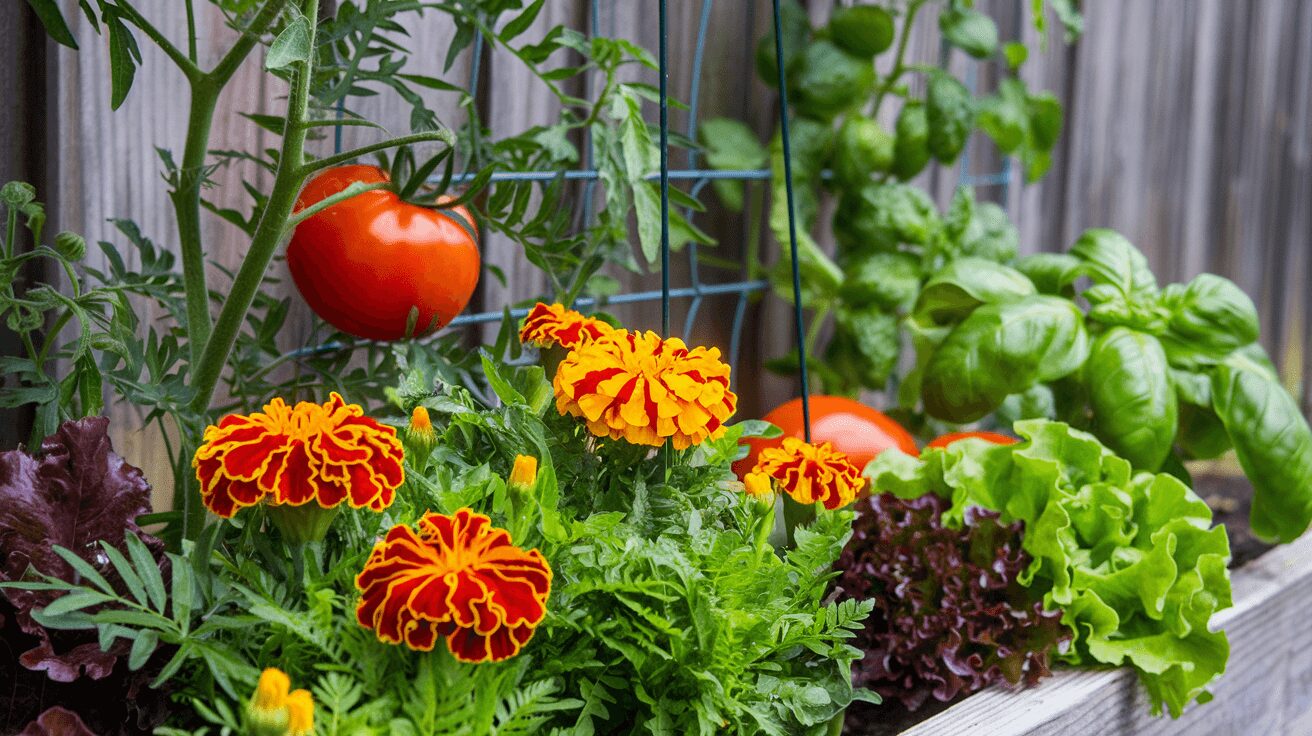
Marigolds are excellent companions in the garden, providing benefits to other plants and enhancing your garden’s overall health.
1. Tomatoes
Marigolds repel pests like nematodes and aphids that can damage tomato plants. Plus, their vibrant flowers add beauty to your tomato bed. Check out companion plants for tomatoes.
Tip: Plant marigolds at the edges of your tomato garden to maximize their pest-repelling benefits.
2. Basil
Basil and marigolds both repel pests and attract beneficial insects. They make a great pairing in both appearance and functionality.
Tip: Plant basil near marigolds to enhance both plants' health and productivity.
3. Cucumbers
Marigolds help keep cucumber beetles at bay, which are notorious for attacking cucumber plants. Check out cucumber companion plants.
Tip: Integrate marigolds among your cucumber plants to provide natural pest control.
4. Peppers
Similar to tomatoes, peppers benefit from marigold’s pest-repelling qualities. They help deter aphids and other common pepper pests.
Tip: Plant marigolds alongside peppers to improve the overall health and yield of your pepper plants.
5. Carrots
Marigolds can help repel the carrot fly, which is a common pest for carrots.
Tip: Plant marigolds in between carrot rows to protect your carrots from this pest.
6. Beans
Marigolds and beans make good companions because marigolds can help deter aphids and other pests that might otherwise target your bean plants.
Tip: Include marigolds in your bean garden to enhance pest management.
Pest and Diseases 
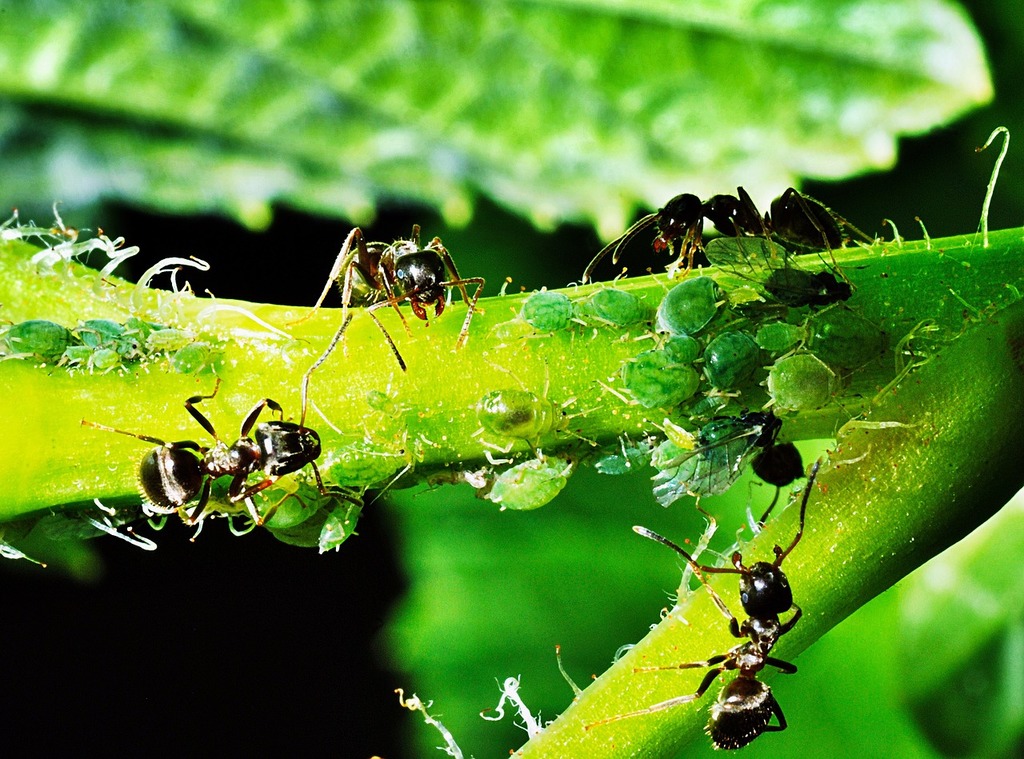
Managing pests and diseases is crucial for keeping your marigolds healthy and vibrant. Here’s a guide to common pests and diseases and how to deal with them.
1. Aphids
Small, soft-bodied insects that cluster on the undersides of leaves.
Control:
- Spray with insecticidal soap or neem oil.
- Introduce natural predators like ladybugs or lacewings.
- Regularly inspect plants to catch infestations early.
2. Spider Mites
Tiny, spider-like pests that create fine webbing and suck plant juices.
Control:
- Increase humidity around plants to deter mites.
- Use miticides or insecticidal soap.
- Rinse plants with water to physically remove mites.
3. Slugs and Snails
Mollusks that feed on leaves, creating holes and slime trails.
Control:
- Use slug bait or traps.
- Hand-pick slugs and snails early in the morning.
- Create barriers with crushed eggshells or diatomaceous earth.
4. Whiteflies
Tiny, white flying insects that gather on the undersides of leaves and cause leaf drop.
Control:
- Use yellow sticky traps to catch adults.
- Apply insecticidal soap or neem oil.
- Introduce natural predators like Encarsia formosa.
5. Root Nematodes
Microscopic worms that damage roots, leading to poor plant growth.
Control:
- Practice crop rotation to break the nematode lifecycle.
- Use nematode-resistant plant varieties.
- Apply beneficial nematodes or soil amendments that disrupt nematode populations.
6. Powdery Mildew
White, powdery fungal growth on leaves and stems.
Control:
- Improve air circulation around plants.
- Avoid overhead watering.
- Apply fungicides if necessary.
7. Botrytis (Gray Mold)
Gray, fuzzy mold that appears on flowers, leaves, and stems, often in damp conditions.
Control:
- Improve air circulation around plants by spacing them properly.
- Avoid overhead watering to keep foliage dry.
- Remove and dispose of infected plant parts.
- Use fungicides as a last resort if the problem is severe.
Final Thoughts
So there you have it! Caring for marigolds doesn’t have to be complicated, but there are definitely some tricks to getting it right. These bright, beautiful flowers not only look great, but they’re also workhorses in the garden, keeping pests away and attracting pollinators.
Whether you’re planting in pots or directly in your garden, follow these tips, and your marigolds will thrive.
Remember, gardening is as much about learning from your mistakes as it is about celebrating your successes. Share your own experiences with caring for marigolds or any tips you’ve found helpful in the comments. I’d love to hear about your gardening journey!
External Link: Check out University of Minnesota Extension and Almanac for more gardening tips and tricks growing and caring for marigolds.
FAQ
How do you keep marigolds blooming?
To keep marigolds blooming, deadhead spent flowers regularly to encourage new blooms. Also, make sure they receive enough sunlight and water, and provide a balanced fertilizer if needed to support continuous flowering.
Do marigolds need full sun?
Yes, marigolds thrive in full sun. They require at least 6-8 hours of direct sunlight daily for the best growth and abundant blooms.
Should marigolds be cut back?
Yes, marigolds benefit from being cut back, especially if they become leggy. Pruning them lightly encourages bushier growth and more flowers.
What to do with marigolds at the end of the season?
At the end of the season, you can either pull up the plants and compost them or collect seeds from dried flower heads for planting next year. In mild climates, they may survive as perennials.
Are marigolds perennials?
Marigolds are typically grown as annuals, but in frost-free climates, certain species, like African marigolds, can act as perennials.
How often to water marigolds?
Water marigolds deeply once or twice a week, depending on the weather and soil conditions. Let the soil dry out slightly between waterings, as they prefer not to sit in soggy soil.

